
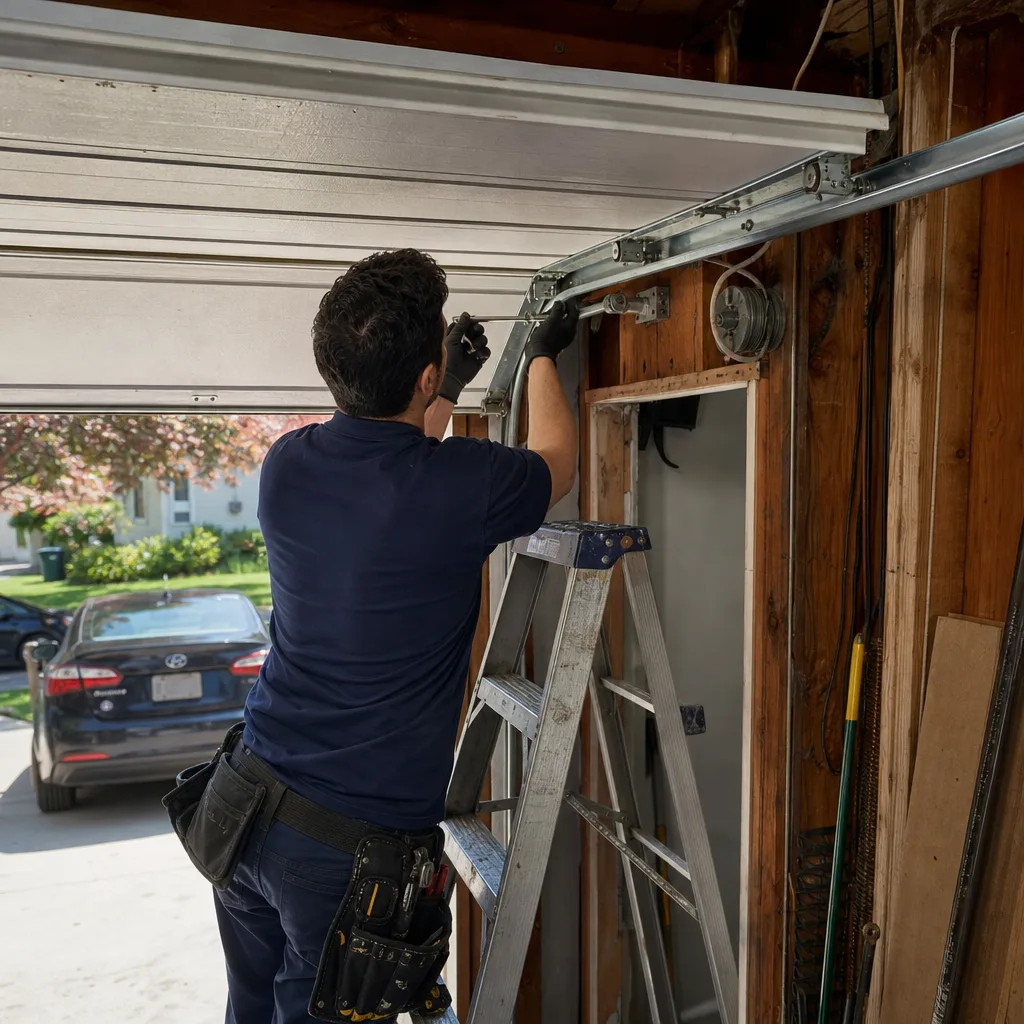
Last updated October 16, 2026
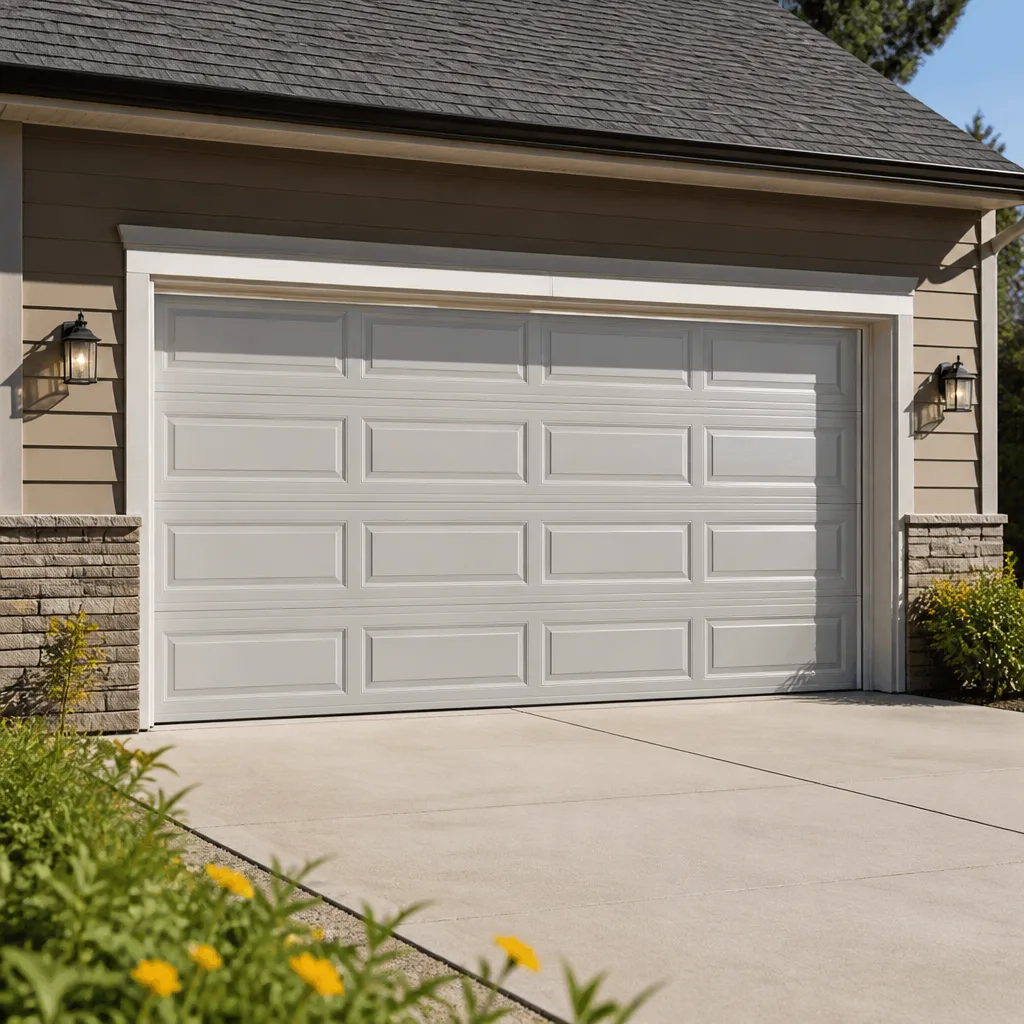 Raised-panel steel
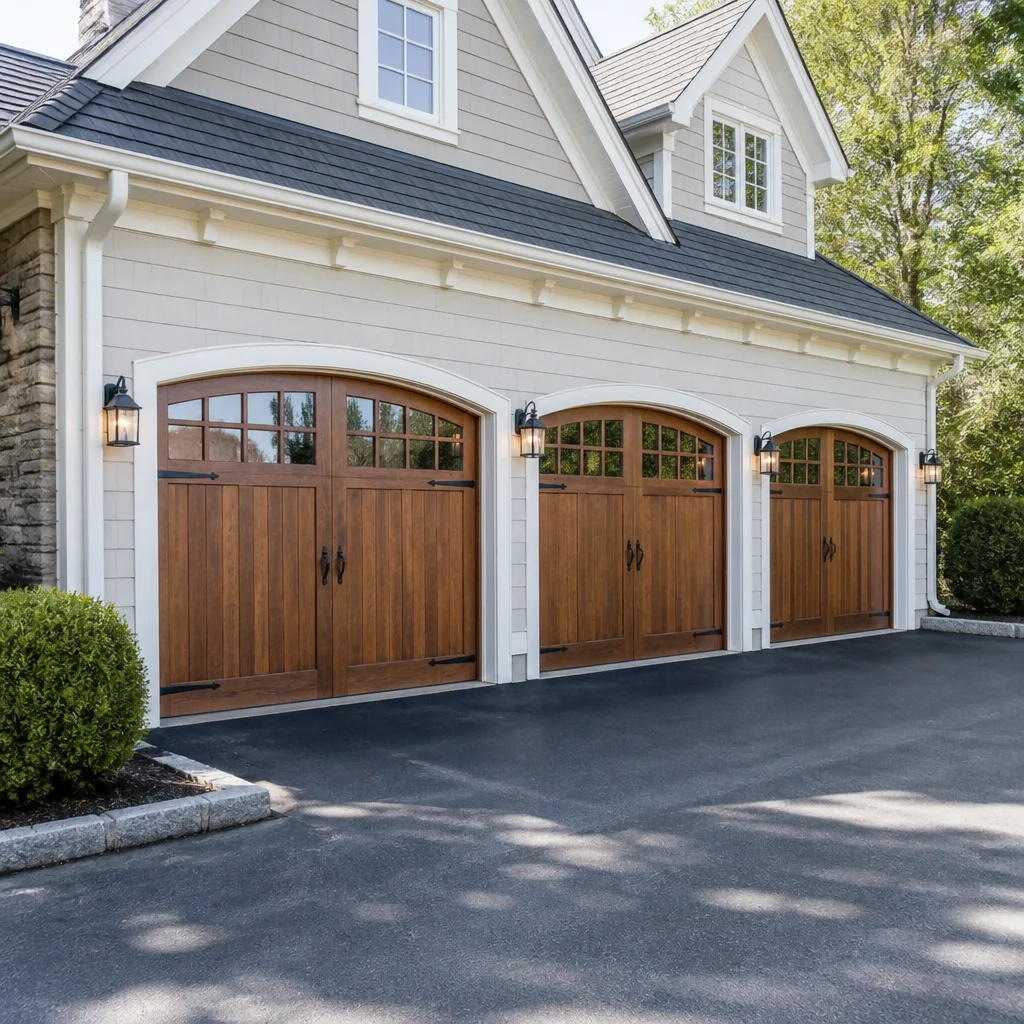 Carriage house
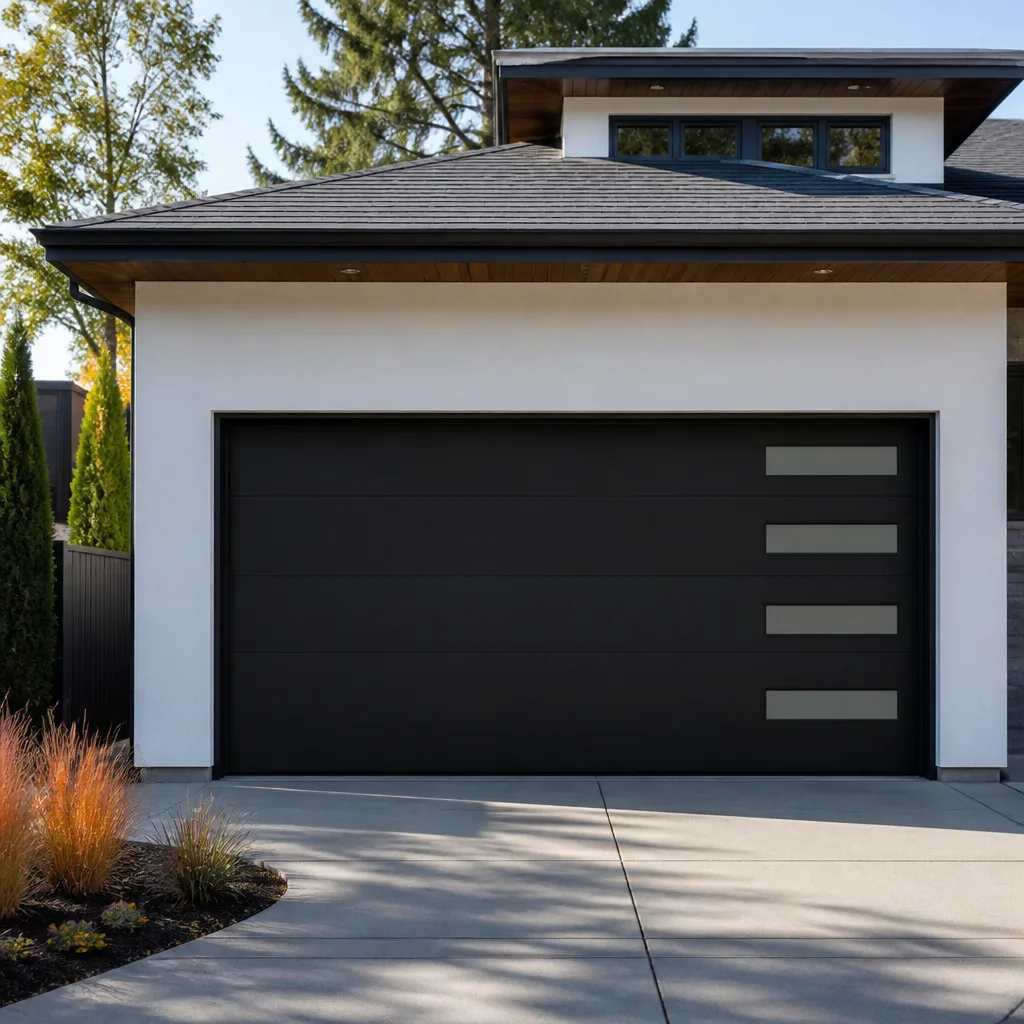 Modern flush
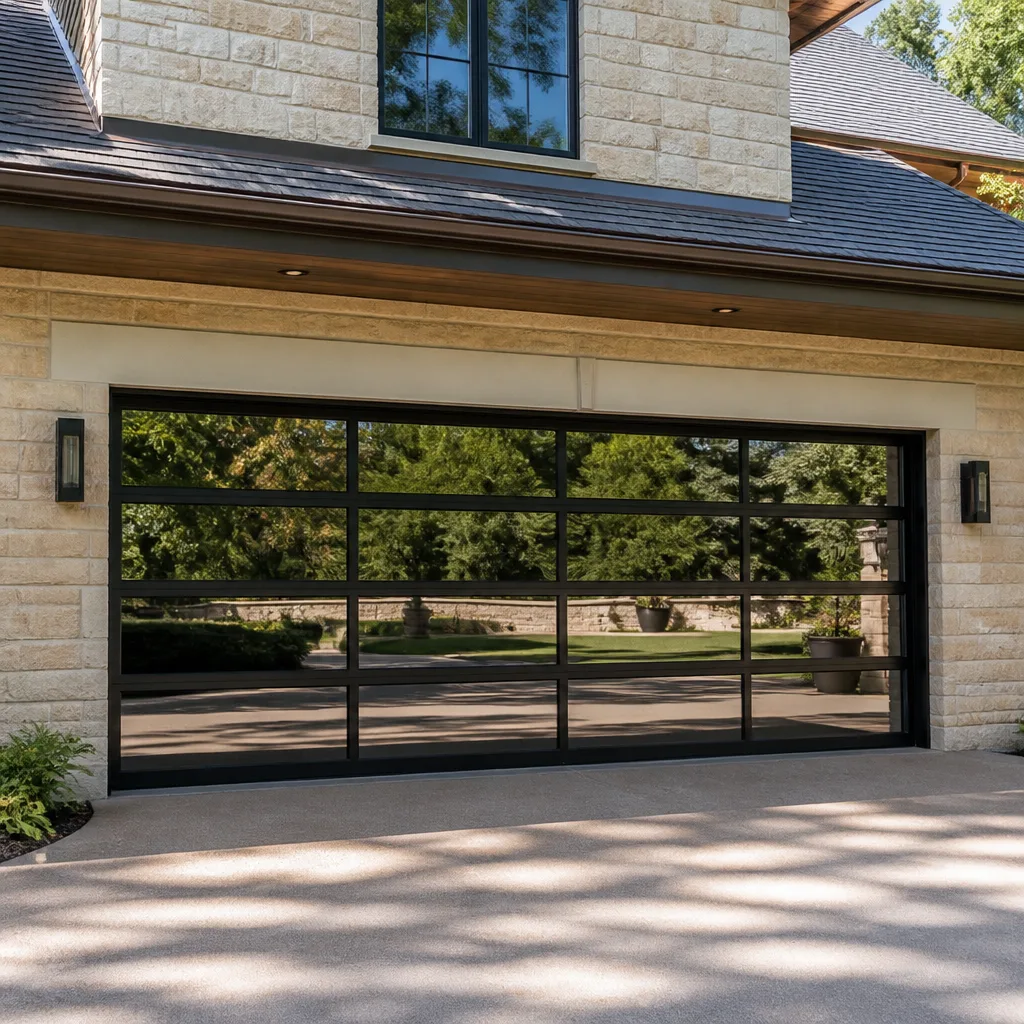 Full-view glass
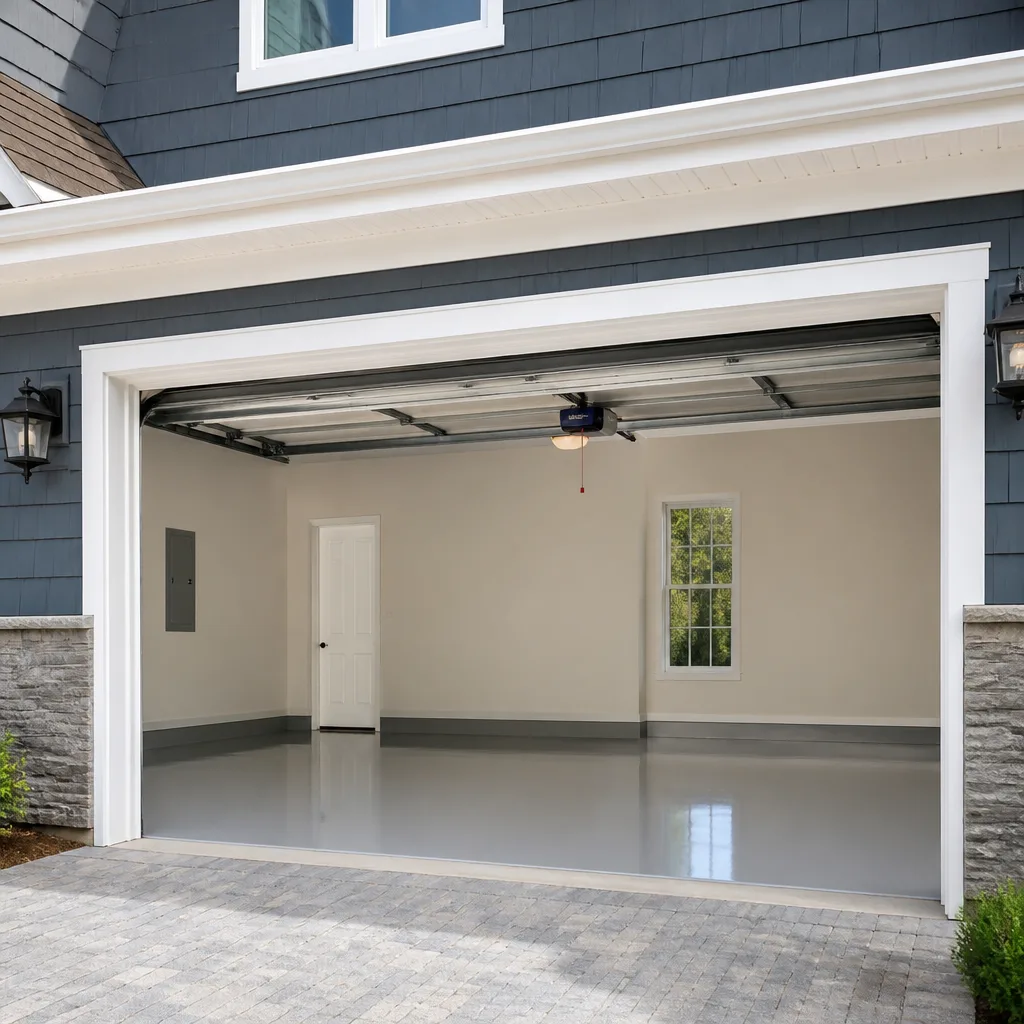 LiftMaster openers
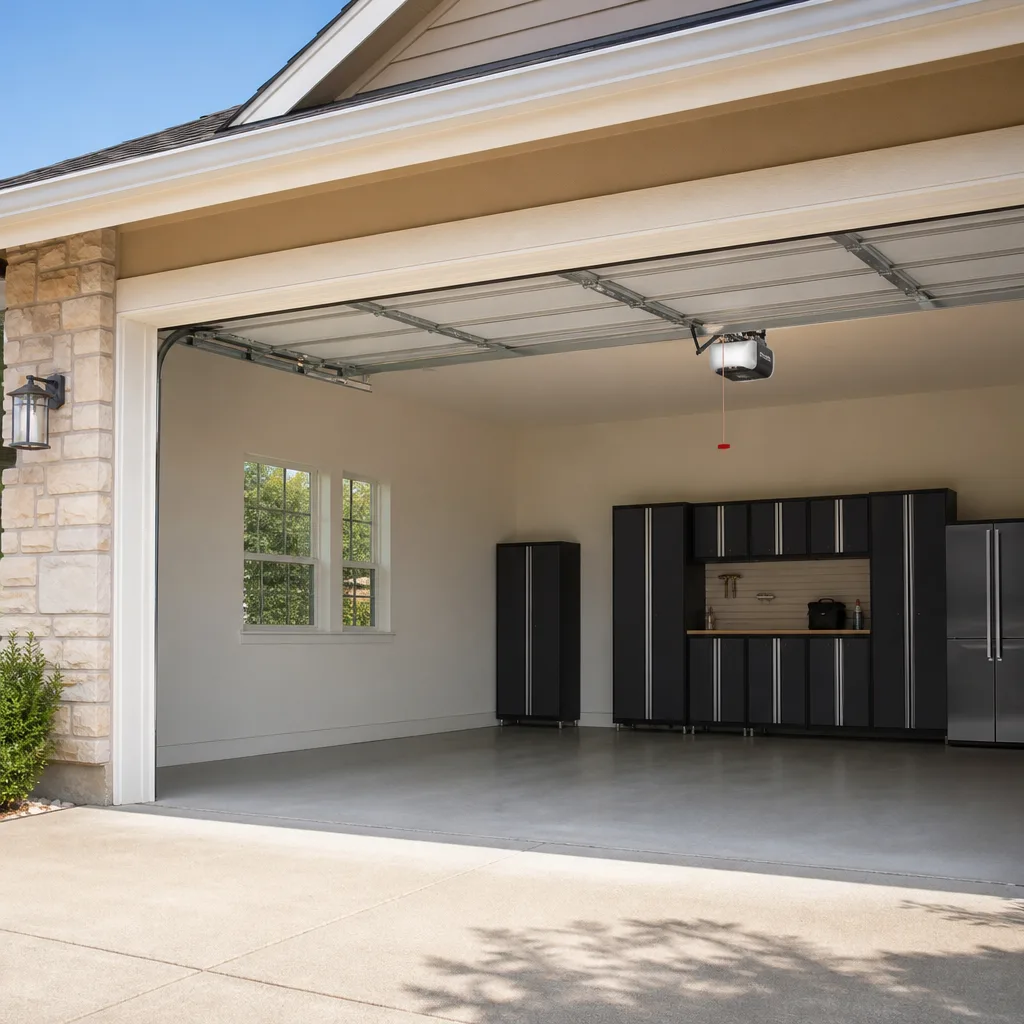 Chamberlain openers
Full 25-point door and opener safety check with every visit - springs, cables, rollers, tracks, and your LiftMaster or Chamberlain opener included
You get a price before we start. It does not change when the truck arrives.
Get your free estimateDIY vs Professional Garage Door: The Yonkers Homeowner’s Decision Guide
There is exactly one garage door task that sends more people to emergency rooms than any other, and it has nothing to do with electrical work or heavy panels. It’s torsion spring adjustment, which stores enough energy to break a wrist in milliseconds and looks deceptively simple on YouTube. This guide walks through every common garage door repair, sorts it into honest categories, and tells you which ones you can tackle on a Saturday morning in Yonkers, which ones demand a second set of hands, and which ones you should never touch no matter how handy you are. By the end, you’ll have a decision framework that’s based on physics, not fear, and real Yonkers pricing, not national averages.
Styles & brands we work with
Quick Answer
Most garage door maintenance in Yonkers is genuinely DIY-friendly: lubrication, sensor alignment, weatherstripping, and track cleaning sit squarely in homeowner territory. But any repair involving a torsion spring, lift cable, or door panel under tension is a professional job with a hard stop: the risk of serious injury alongside repair costs that often double when a DIY attempt goes wrong. For Yonkers homeowners, the practical line is this: if the part is under tension or the door weighs more than you can bench press, call a pro. If it’s a wear item you can see and reach without tools, you’re probably fine.
Table of Contents
- The Torsion Spring Boundary: One Part Separates Safe from Dangerous
- Task-by-Task Decision Table: Safe DIY, Skill-Dependent, Never DIY
- What Stored Energy Actually Means: The Physics of a Torsion Spring
- The Yonkers Constraint: Low-Headroom Doors and 7-Foot Ceilings
- Real Cost Comparison: Five Common Repairs, DIY vs Professional vs Mistake
- Warranty and Insurance: What DIY Actually Voids
- Two DIY Tasks We Actually Recommend: With Step-by-Step Instructions
- Common Mistakes to Avoid
- When to Call a Professional
- Frequently Asked Questions
- The Bottom Line
The Torsion Spring Boundary: One Part Separates Safe from Dangerous
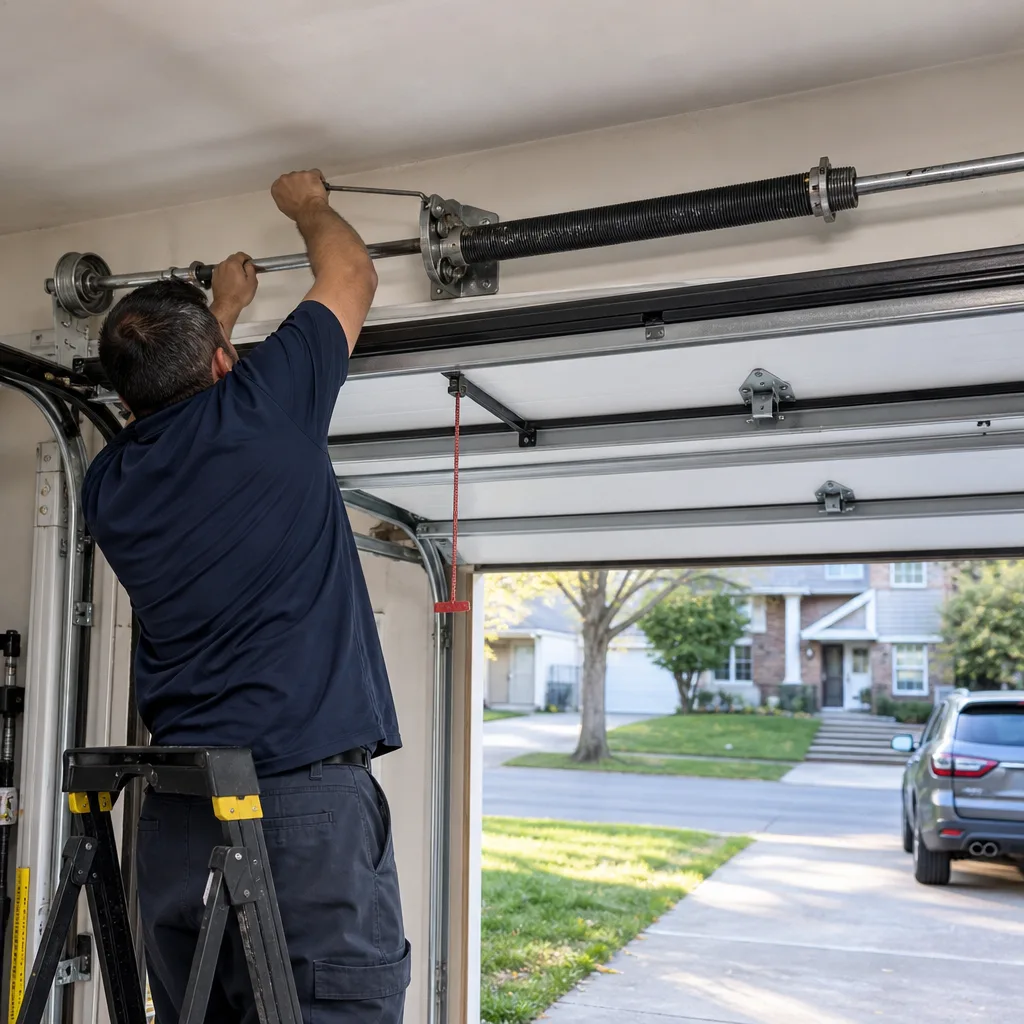
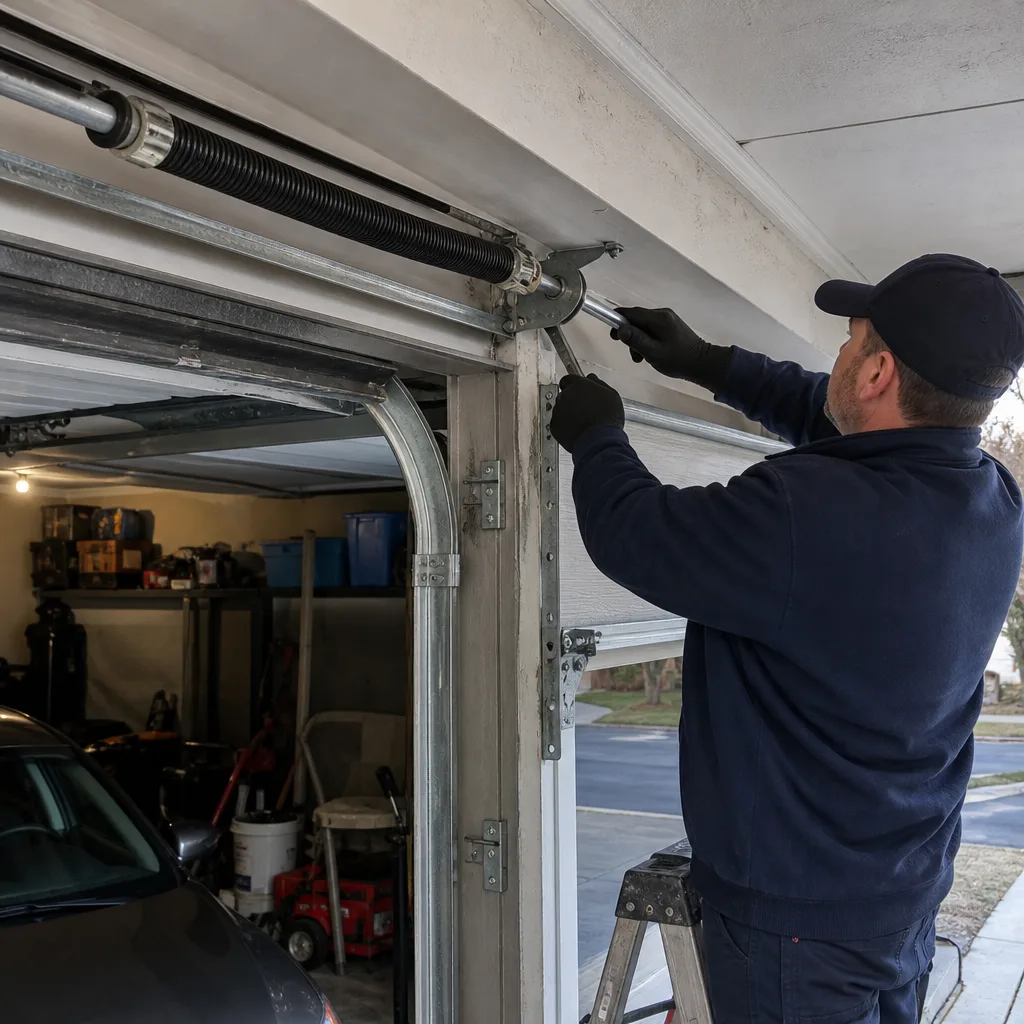
Every garage door has one of two spring systems. Extension springs stretch along the horizontal tracks on either side of the door. Torsion springs are the thick coils mounted on a metal shaft directly above the door opening. In Yonkers, roughly 70% of the attached garages we service use torsion systems, because they last longer and open more smoothly. The difference matters for one very specific reason: a torsion spring under load is the single most dangerous component in your house, full stop.
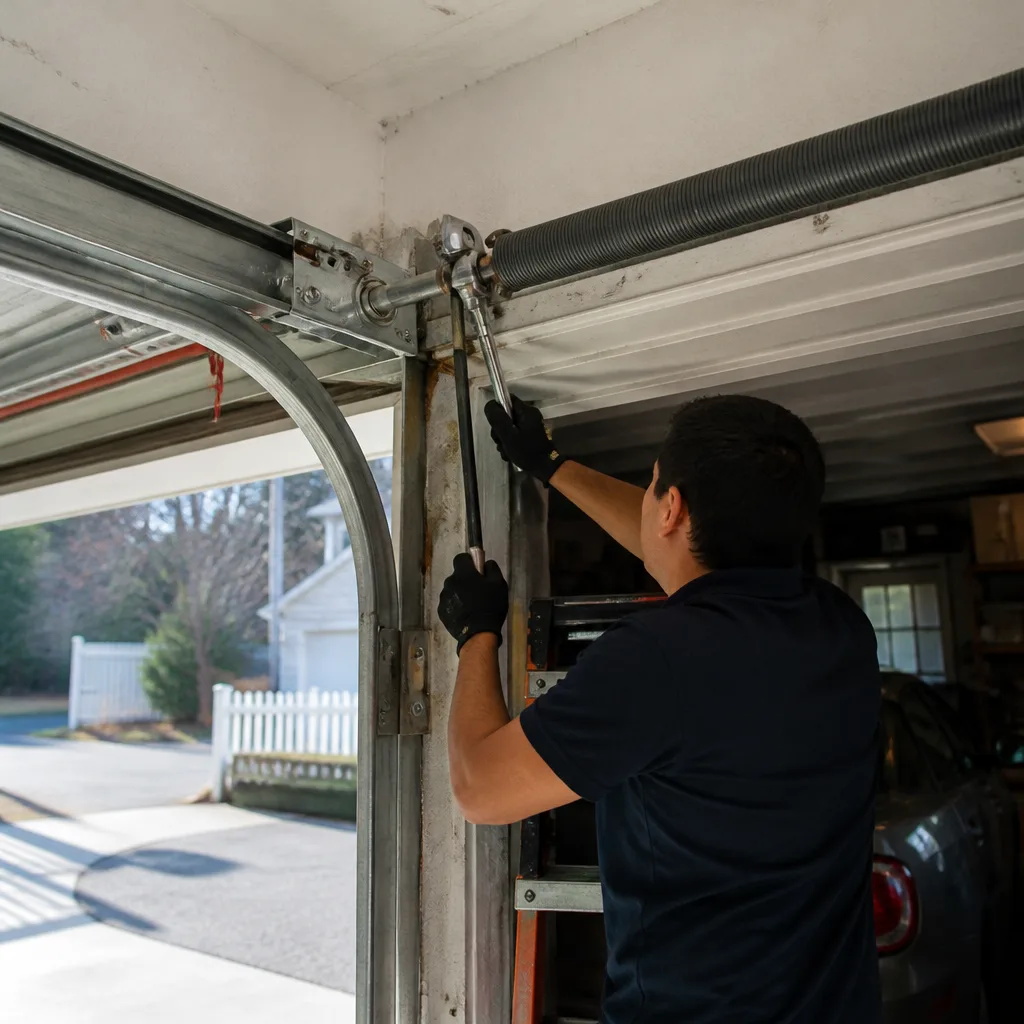
Torsion springs do not fail gently. When one snaps, it releases years of accumulated tension in a fraction of a second. If you’re standing on a ladder with a winding bar in the spring cone at that moment, that bar becomes a projectile. The math is grim: a standard residential torsion spring stores between 30 and 50 foot-pounds of torque, and when it lets go, the winding cone spins at a speed that outpaces human reaction time by a factor of roughly ten. Hand and wrist injuries from torsion spring DIY attempts are a common ER presentation in Westchester County, and the patients are usually experienced tool users who thought the video made it look manageable.
This is the organizing principle for everything that follows. If a repair involves a torsion spring in any way, it is Never DIY. Not “be careful,” not “if you’re experienced.” Never. Extension springs are less dangerous but still under enough tension to require respect and a very specific set of tools. Everything else on the door, from photo-eye sensors to rollers to weatherstripping, falls into the Safe or Skill-Dependent categories based on how much tension the part holds and whether you need to work above shoulder height to reach it.
For a deeper look at how this works on the ground, see our guide to Garage Door Spring Repair in Yonkers.
Task-by-Task Decision Table: Safe DIY, Skill-Dependent, Never DIY
Here’s the honest breakdown. We’ve organized this by the actual tasks homeowners call us about, not by a vague complexity scale. The torsion spring question is the sorting mechanism.
| Task | Category | Why It’s Categorized That Way |
|---|---|---|
| Lubricating rollers, hinges, and tracks | Safe DIY | No tension involved. Ten minutes, a can of silicone spray, and a rag. Do this twice a year in Yonkers’s humid summers and cold winters. |
| Cleaning and aligning photo-eye sensors | Safe DIY | Sensors are low-voltage and mounted at shin height. A misaligned sensor is the #1 cause of a door reversing for no reason. |
| Replacing weatherstripping on the bottom panel | Safe DIY | Slide out the old strip, slide in the new one. No spring interaction. Prevents drafts in attached garages during Yonkers winters. |
| Tightening loose track bolts and brackets | Safe DIY | Use a socket wrench on bolts that mount track to wall. Do not remove track sections; just snug them up. |
| Replacing rollers on non-tension wheels | Skill-Dependent DIY | Top rollers only slip out of the bracket when the door is open. Bottom rollers connect to lift cables, which ARE under tension. Do not touch bottom rollers yourself. |
| Replacing the opener remote or keypad battery | Safe DIY | No tools beyond a small screwdriver. Takes under two minutes. |
| Adjusting the opener’s travel limits and force settings | Skill-Dependent DIY | Modern openers from LiftMaster and Chamberlain have adjustment dials a homeowner can handle. But misadjusting force settings can cause a door to crush objects, or worse, people. |
| Replacing the opener motor unit | Skill-Dependent DIY | The opener itself isn’t under spring tension, but it hangs from the ceiling and weighs 30 to 40 pounds. A second person makes this manageable. Wiring is low-voltage but must be done correctly. |
| Replacing extension springs | Never DIY | These stretch-storage springs hold the door’s full weight and can act like a stretched rubber band the size of your arm. Professional tools are mandatory. |
| Adjusting, replacing, or removing a torsion spring | Never DIY | See the section below on stored energy. This is a hard no, regardless of skill, tools, or confidence. |
| Replacing Lift Cables | Never DIY | Cables route the spring’s force to the door. They’re under tension whenever the door is open. This is covered under our Garage Door Cable Repair in Yonkers page. |
| Replacing a door panel | Never DIY | Removing a bottom panel means detaching cables from spring tension. Panels also weigh 80-120 pounds each and require alignment that a single person cannot manage safely. |
What Stored Energy Actually Means: The Physics of a Torsion Spring
When a garage door is closed, the torsion spring above the door is wound tight. That winding is what helps the opener lift 130 to 180 pounds of door with very little effort. The spring is a mechanical battery, and it’s always charged. A typical residential torsion spring wound to the correct tension for a double-wide door has enough stored energy to launch a 12-pound object across a two-car garage. If that object is the metal winding bar you were holding, or if it’s the spring cone itself, you don’t get a second chance to duck.
The failure mode is what makes this uniquely dangerous. A torsion spring under load doesn’t give warning. When the metal fatigues past its threshold, often after 8,000 to 10,000 open-close cycles, it snaps. The released energy travels in two directions: the shaft spins violently, and the broken spring sections become ungainly, high-speed projectiles. People who adjust torsion springs without locking the shaft properly have described the moment as “the bar disappeared” – it moved faster than the eye can track. Hand injuries from torsion spring DIY attempts are not a failure of skill; they’re a failure of estimating risk. The spring does not care how many YouTube videos you watched.
There’s a second, quieter reason to avoid torsion spring work: getting the tension wrong. Even if you avoid the catastrophic failure, a spring wound too tight lifts the door too fast and strains the opener. A spring wound too loose makes the door heavy. Both conditions wear out the opener motor prematurely and can cause the door to bind mid-travel, which creates another dangerous situation: a door stuck in the open position with cables carrying full load.
This isn’t overcautious advice. It’s the only garage door component that the industry at large universally refuses to sell to unlicensed DIYers in many states for liability reasons. When part manufacturers won’t sell you the part without a professional account, there’s a reason.
The Yonkers Constraint: Low-Headroom Doors and 7-Foot Ceilings
National DIY guides operate in a world where garages have 8 or 9 feet of clearance above the door. Yonkers is not that world. The city’s housing stock runs older and denser than the national average, especially in neighborhoods like Getty Square, Nodine Hill, and the attached-garage row houses in southeast Yonkers. Many of these garages were built before modern garage door hardware existed, when cars were smaller and ceiling height was an afterthought.
A standard torsion spring system needs about 12 inches of headroom between the top of the door opening and the ceiling. A low-headroom system uses a different spring configuration and special track hardware, and it requires roughly 4.5 inches. Many Yonkers garages fall between these two numbers or below the second one. If your garage has a 7-foot ceiling or a sub-7-foot header, you cannot install a standard torsion spring kit bought off the shelf at a big-box store. The geometry doesn’t work. The track curves too tightly. The cable drums don’t align. The door ends up binding, and you’re left with a partially disassembled garage door and a pallet of hardware that doesn’t fit.
There’s also the matter of the door itself. Doors designed for low-headroom applications use different track profiles and sometimes different panel styles. Retrofitting a standard door into a low-headroom opening requires cutting track, repositioning brackets, and recalculating cable paths. This is not a bolt-in project. We’ve been called to enough Yonkers garages mid-DIY to say this with confidence: if your ceiling clearance above the door opening is under 12 inches, every single repair on this list that touches the track, spring, or cable system is a professional job, not because of daring but because the parts literally will not fit without modification.
Real Cost Comparison: Five Common Repairs, DIY vs Professional vs Mistake
DIY economics usually work like this: the parts cost 40% of the professional quote, so the job feels like a win. What the spreadsheet misses is the mistake scenario. Here’s the honest math on the five most common DIY-attempted garage door repairs in Yonkers, with the real cost of what happens when the attempt goes sideways.
1. Torsion Spring Replacement
- DIY parts cost: $60 – $120 for the spring, but most retailers and distributors will not sell torsion springs to unlicensed individuals in the New York metro area. You’d likely buy from an online source, which carries no local support.
- Professional cost in Yonkers: $180 – $290, including the spring and labor. This matches what we see across Westchester County.
- Mistake scenario: ER visit for a hand injury runs $2,000 – $10,000 before insurance. Even a non-injury failure, like winding the spring wrong and stripping the cone, means a second professional trip that starts at the same $180 – $290 and goes up if the opener or cables were damaged.
2. Extension Spring Replacement
- DIY parts cost: $40 – $80 for a pair of springs.
- Professional cost: $150 – $250. Unlike torsion springs, extension springs are sold at retail, which makes this a common DIY attempt.
- Mistake scenario: Extension springs must be matched to the door’s exact weight. Buy the wrong size and the door slams closed or won’t stay open. Fixing that means buying a second correct set, so you’ve now spent $80 – $160 on parts plus likely a service call of $150+ to get it right.
3. Roller Replacement
- DIY parts cost: $15 – $30 for a set of nylon rollers.
- Professional cost: $120 – $180.
- Mistake scenario: Replacing bottom rollers requires detaching lift cables under tension. A homeowner who doesn’t realize this has removed the only thing holding the door up while the springs were unwinding. The door drops, bends a panel, and you’re now at $300 – $600 for panel replacement.
4. Photo-Eye Sensor Realignment
- DIY cost: $0 – $5 for cleaning supplies.
- Professional cost: $75 – $110 for a service call, though many Yonkers homeowners bundle this with a tune-up.
- Mistake scenario: The mistake here is rare because the sensors are low-voltage and straightforward. This is genuinely one of the best DIY tasks on the door.
5. Weatherstripping Replacement
- DIY parts cost: $12 – $25 for a universal bottom seal.
- Professional cost: $90 – $130 when combined with a lubrication and inspection visit.
- Mistake scenario: Universal seals rarely fit well on odd-sized Yonkers doors. A seal that’s too short leaves drafts, and cutting one too short means buying another. A seal that’s too long binds and can prevent the door from closing fully, which triggers the auto-reverse. You might spend $40 in seals before giving up.
For a complete look at what a professional garage door repair in Yonkers typically involves and costs, our Garage Door Repair in Yonkers page breaks that down.
Warranty and Insurance: What DIY Actually Voids
This is the angle most guides skip, and it matters more in Yonkers than you’d think. The city has seen steady new construction and comprehensive renovations over the last decade, which means a meaningful number of homeowners are still within builder warranty periods. Builders cover structural and mechanical components, and garage doors are usually in that scope, but most builder warranties contain a clause about “unqualified modifications.” If you replace or adjust a spring yourself, you’ve potentially created grounds for the builder to deny a later claim of any kind involving the garage system.
Opener warranties are even more specific. Chamberlain, LiftMaster, and Genie all state in their own warranty language that spring-related adjustments performed without a qualified technician void the opener’s coverage. The logic is simple: the opener was designed to work with a correctly tensioned door. If you adjusted the spring and the opener motor burns out two months later, the manufacturer has no way to know whether the spring tension caused it. They’ll assume it did. That’s a $150 – $400 opener replacement you’re now paying out of pocket whose warranty would have covered parts for up to five years.
Insurance is the second piece. Homeowners insurance typically covers garage door damage from storms, vehicle impacts, or sudden mechanical failure. What it does not cover is damage caused by “negligent self-repair.” If a DIY spring job goes wrong and the door crashes down on your car, or the spring flies through a window, the adjuster will ask who performed the work. The answer determines whether the claim gets paid. In our experience working with Yonkers homeowners, this discovery usually happens during the claim process, not before.
Conversely, professional work shifts liability. A licensed, insured garage door company carries its own coverage for workmanship errors. If a spring that Marlow Garage Door Repair Yonkers installed fails prematurely, the remedy comes from us, not from your homeowner’s policy. That’s part of what you’re buying with a professional repair, and it’s rarely priced into the DIY spreadsheet.
Two DIY Tasks We Actually Recommend: With Step-by-Step Instructions
We’re not anti-DIY. In fact, there are two maintenance tasks we actively encourage Yonkers homeowners to handle themselves. They’re safe, they’re quick, and they prevent the kind of service calls that make up the bulk of our Garage Door Repair in Yonkers visits. Here’s how to do both correctly.
Task 1: Lubricating the Door System
- Close the garage door completely and disconnect the opener by pulling the red emergency release cord. This prevents accidental activation while you’re working.
- Spray a silicone-based lubricant on the rollers, specifically the ball bearings inside each roller wheel. Do not use WD-40; it’s a degreaser, not a lubricant, and it will wash out the existing grease.
- Apply a thin coating to the torsion spring above the door. You’re lubricating the coil-to-coil contact points, not soaking the spring. One pass along each spring is enough.
- Lubricate the hinges where the metal folds, and the track where the rollers ride. Avoid getting lubricant on the track’s flat surfaces, or the rollers will slip.
- Reconnect the opener and run the door through two full cycles. Wipe away any excess lubricant that drips onto the door surface.
Task 2: Realigning Photo-Eye Sensors
- Check the sensors mounted on either side of the door opening near the floor. Each has a small LED light.
- If one light is off or blinking, the sensor is misaligned or has lost power. Loosen the wing nut that holds the sensor bracket and reposition the sensor so it faces directly at its counterpart across the opening.
- Use a level to make sure both sensors sit at the same height. A difference of more than a quarter inch will often prevent the door from working.
- Tighten the wing nut without over-torquing it. The sensor should stay put but still be adjustable by hand.
- Wipe the sensor lenses with a dry cloth. Yonkers garages collect dust and road grime faster than you’d think, and a dirty lens mimics misalignment.
- Close the door using the opener. If the sensors are aligned, the door will travel normally. If it still reverses, the sensor may need replacement, which is a 15-minute professional visit.
Common Mistakes to Avoid
- Using WD-40 as a lubricant. It’s a solvent, not a lube. It strips the protective grease from rollers and hinges, which accelerates wear and causes noisy operation within weeks.
- Touching the bottom rollers without releasing spring tension. This is the most common serious DIY error we see in Yonkers garages. Bottom rollers attach to the lift cables, which are under spring tension. Removing them without a professional wind-down procedure is how doors come off their tracks.
- Replacing a broken torsion spring with a mismatched size. Springs are rated in cycles, not just length. A spring rated for 8,000 cycles on a double-wide door will fail within a year on a single-door application that’s used four times a day.
- Ignoring the garage door’s balance. Disconnect the opener and lift the door halfway by hand. If it drops or rises, the springs are unbalanced. A door with tired springs strains the opener faster and becomes a safety hazard.
- Buying universal weatherstripping for a Yonkers low-headroom door. Universal seals are sized for standard doors. If your door is 7 feet or less in clearance, the strip will likely be too long and interfere with the door’s travel.
- Adjusting the opener’s force settings to compensate for a heavy door. This masks a spring problem and creates a safety issue. The auto-reverse mechanism works by sensing resistance; if you tell the opener to push harder, it won’t reverse when it should.
When to Call a Professional
You should stop and call a pro the moment any of these four things happen: you hear a loud bang from the garage that sounds like a gunshot (that’s a torsion spring breaking), you see the door hanging crooked in the opening, you notice the lift cables frayed or disconnected, or you’re standing there holding a tool and looking up at a spring thinking “I can probably figure this out.” That last one is the most important. Marlow Garage Door Repair Yonkers offers free estimates in Yonkers, and we’ll give you a written price before any work begins. Call (845) 407-9237 and a real person will answer, day or night.
Frequently Asked Questions
No. Torsion springs store enough energy to cause serious injury or death if mishandled, and extension springs require specialized winding tools and careful matching to your door’s weight. Even experienced DIYers should not attempt spring replacement. Call a professional for Garage Door Spring Repair in Yonkers.
Safe DIY tasks include lubricating rollers and hinges, cleaning and realigning photo-eye sensors, replacing weatherstripping, tightening track bolts, and changing remote batteries. These tasks involve no spring tension and minimal tools.
Most garage door repairs in Yonkers run $75 – $290, depending on the issue. Simple sensor realignment is on the low end, while torsion spring replacement is on the higher end. Any repair involving cables or panels can run $200 – $600. For specifics, see our Garage Door Repair in Yonkers page.
The emergency release cord is likely pulled, disconnecting the door from the opener. Re-engage the cord by pulling it toward the door and lifting the door slightly until you hear a click. If the door still won’t move and the opener hums, the springs may be broken.
Springs are rated by cycles, not years. A standard torsion spring lasts roughly 10,000 open-close cycles, which for most Yonkers homeowners is 7 to 10 years. Usage patterns, humidity, and temperature swings all affect lifespan. Getting an annual professional inspection can catch a spring before it fails.
Yes, if you do it yourself. Chamberlain, LiftMaster, and Genie all state that non-professional spring work voids the opener warranty. Professional repair, including our Garage Door Spring Repair in Yonkers, keeps your opener warranty intact.
Yes. Cable replacement is one of our core services, and it’s a job that should never be DIY because the cables are under constant spring tension. Learn more at our Garage Door Cable Repair in Yonkers page.
The Bottom Line
The DIY-versus-pro decision isn’t about how handy you are. It’s about whether the part you’re touching is under tension. Lubrication, sensors, weatherstripping, and track tightening are all fair game, and they’ll save you genuine money over the life of your garage door. Anything involving torsion springs, extension springs, lift cables, or panel removal is a professional job, not because we want the work, but because the stakes of a mistake are measured in broken bones and doubled repair bills. Yonkers’s older garages add a gear: low-headroom hardware makes some DIY kits physically unusable. When in doubt, call (845) 407-9237 and get a free estimate from someone who does this daily. The price will be written down before anything gets touched, and you’ll have a full year of coverage behind it.
Written by Jaylen Ross, Owner at Marlow Garage Door Repair Yonkers, serving Yonkers since 2002.
See the difference
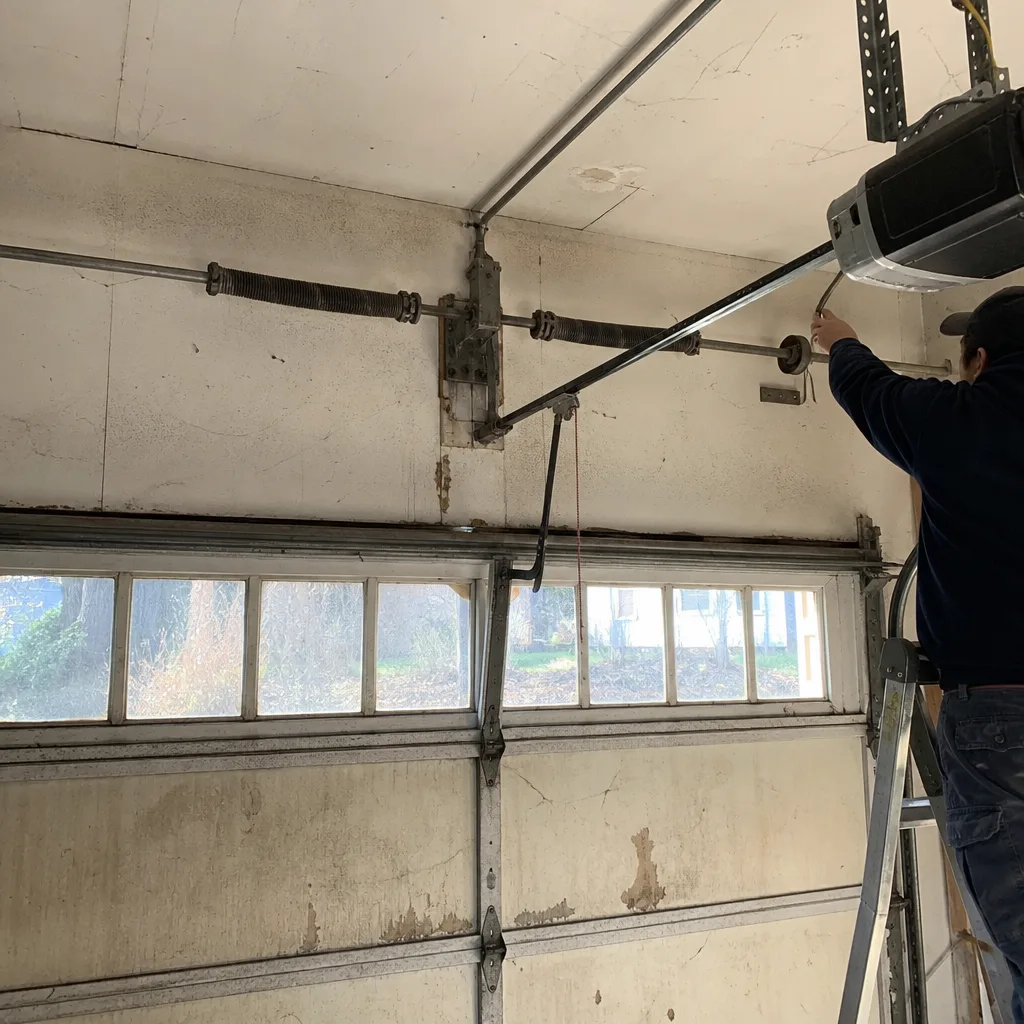 Before
 After
After Before
 After
After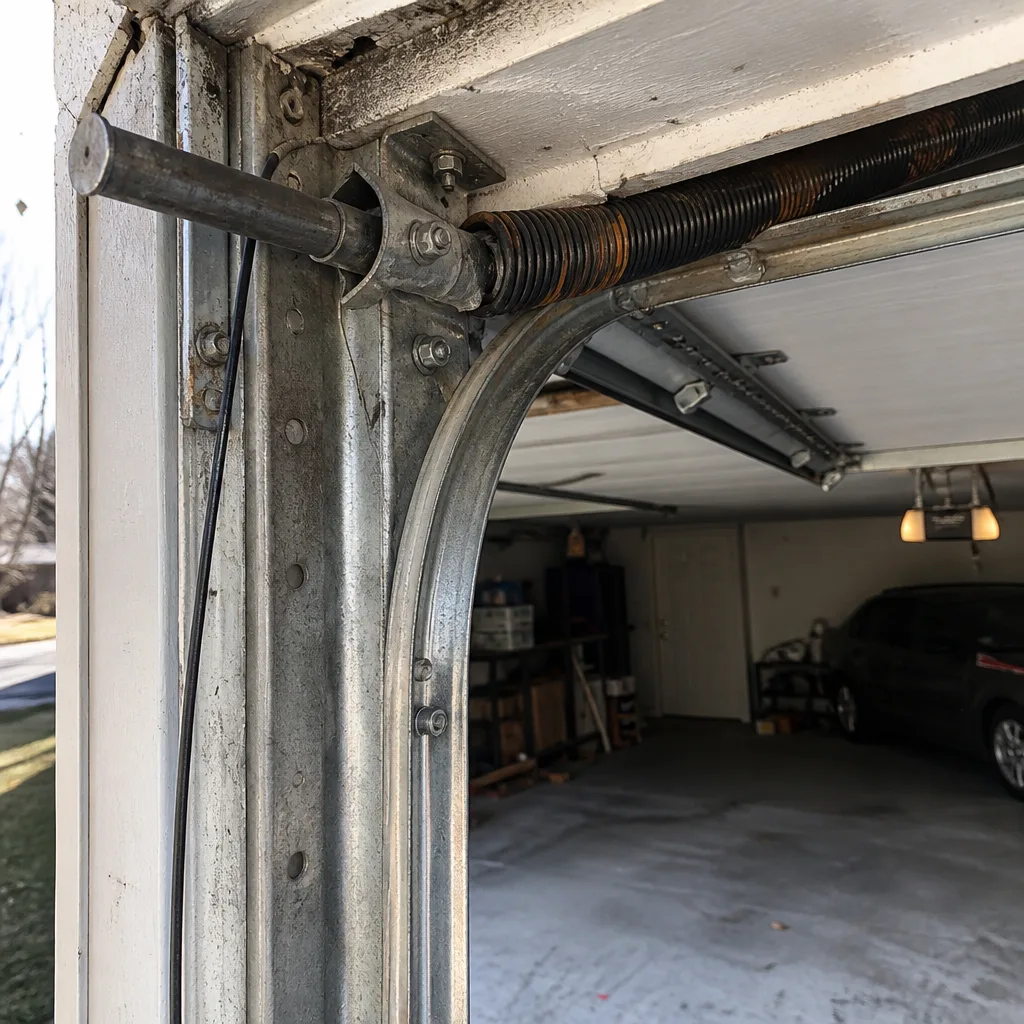 Before
 After
After