
Last updated October 16, 2026
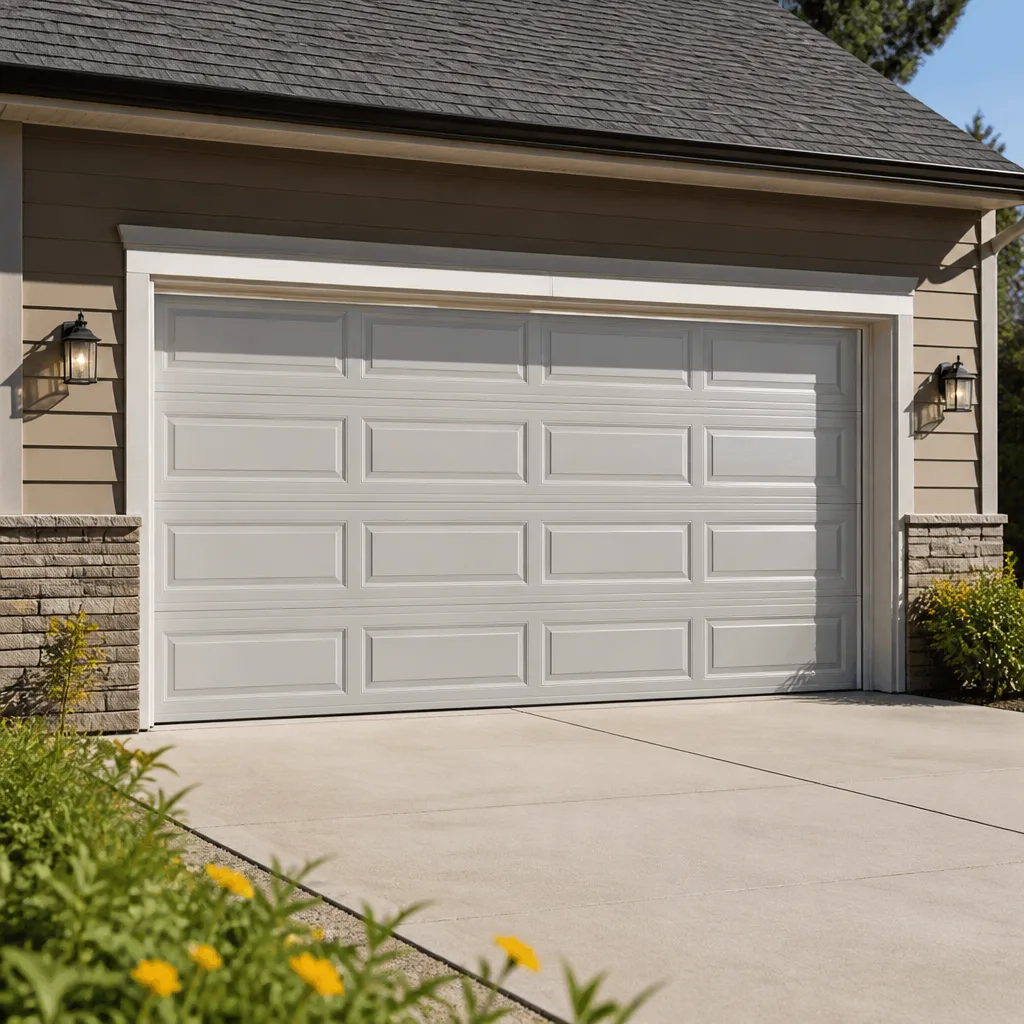 Raised-panel steel
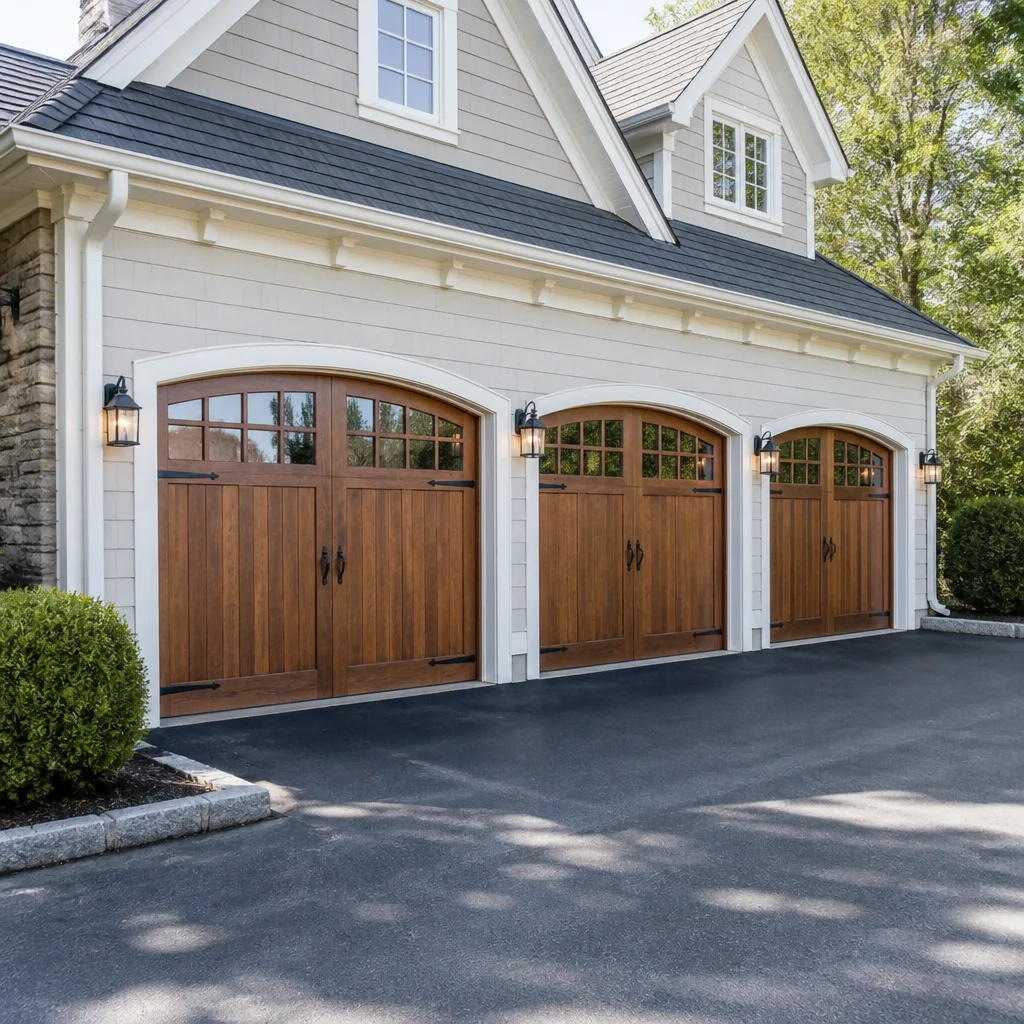 Carriage house
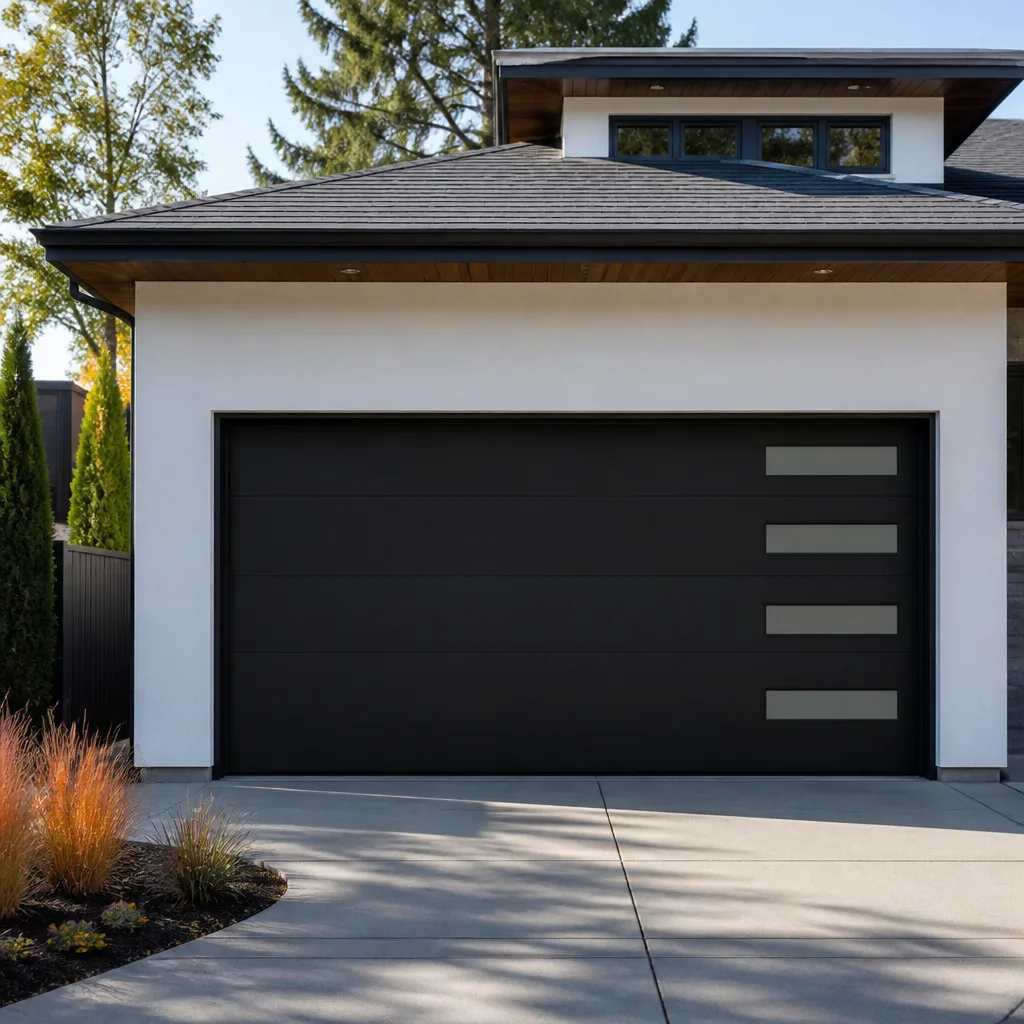 Modern flush
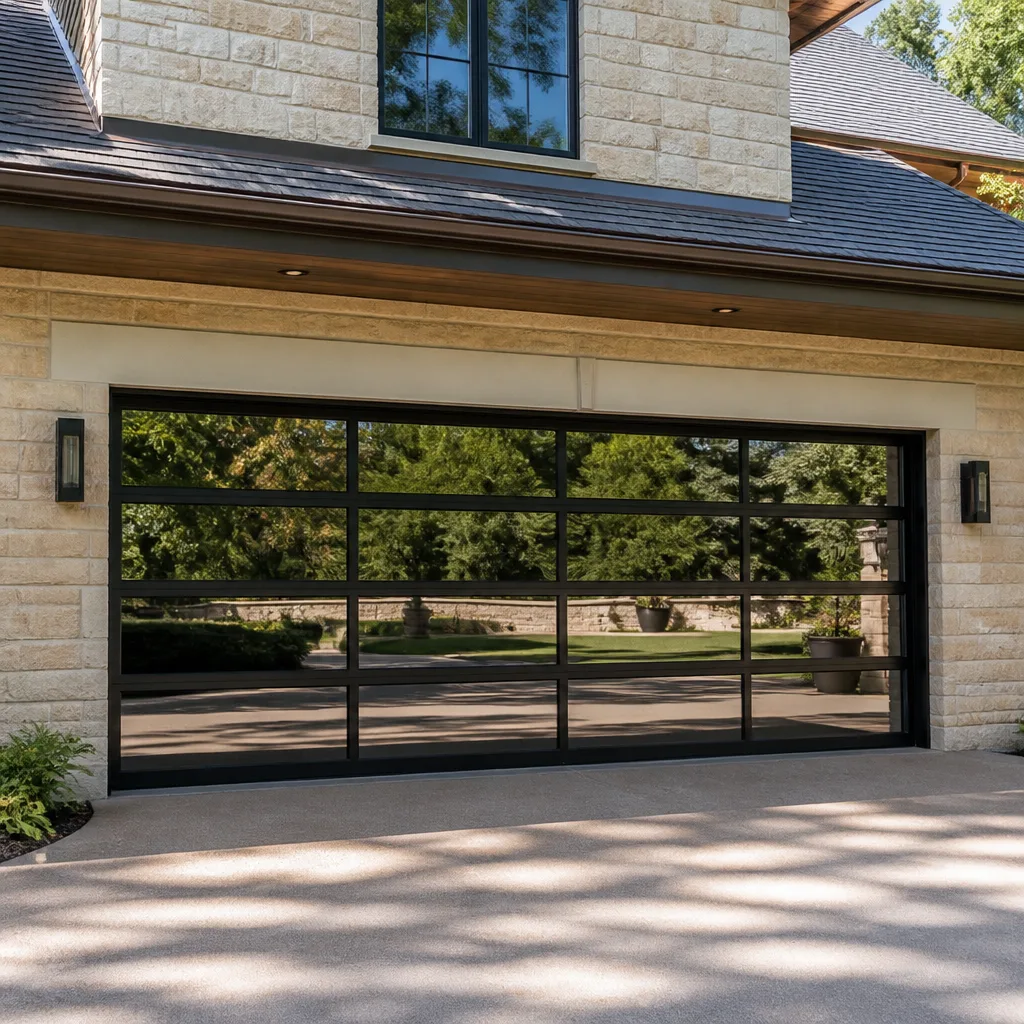 Full-view glass
 LiftMaster openers
 Chamberlain openers
Full 25-point door and opener safety check with every visit - springs, cables, rollers, tracks, and your LiftMaster or Chamberlain opener included
You get a price before we start. It does not change when the truck arrives.
Get your free estimateGarage Door Repair Maintenance Checklist for Yonkers Homeowners
Ninety percent of emergency garage door calls in Yonkers are caused by a maintenance task that takes four minutes and costs under three dollars. Almost nobody does it. The failure almost always starts small, a roller that binds, a hinge pin working loose, a bottom bracket quietly corroding from road salt kicked up off Central Park Avenue all winter. Then one morning the door won’t open, or a cable snaps, and a $4 fix becomes a Garage Door Repair service call. This checklist is built for Yonkers specifically, not a generic suburban template. The salt, the hills, the attached garages that trap Hudson Valley moisture, all of it shapes what wears out here and how fast.
Styles & brands we work with
Quick Answer
A Yonkers garage door needs about 90 minutes of maintenance per year, split across a monthly visual check, quarterly lubrication of specific moving parts with the correct product, and a twice-yearly hardware inspection focused on salt corrosion and track alignment. The single most important task is lubricating the torsion spring, hinges, and rollers with white lithium grease or a silicone-based garage door lubricant, never WD-40. If your door hesitates, slows, or sounds like a cement mixer, that is your signal to inspect before it becomes a repair call-see our guide to Garage Door Warning Signs: A Yonkers Homeowner’s Reference Guide for what to watch for.
Table of Contents
- The Yonkers Month-by-Month Maintenance Calendar
- The Three Components Yonkers Homeowners Over-Lubricate (And What to Use Instead)
- Road Salt Corrosion: The Hardware Inspection Checklist
- The Safe Tension Test You Can Do Without Touching the Spring
- Garage Environment: Moisture, Ventilation, and What It Does to Your Door
- Track Alignment and Level Checks for Steep Yonkers Driveways
- The Contractor Handoff Checklist: What to Ask for in Writing
- Common Mistakes to Avoid
- When to Call a Professional
- Frequently Asked Questions
- The Bottom Line
The Yonkers Month-by-Month Maintenance Calendar
Most maintenance guides hand you a list of things to do “seasonally,” which means you will do none of them. Here is the actual calendar, with dates and time estimates. Set a phone reminder. Do the task. Move on.
Every Month: The 4-Minute Visual and Sound Check (First Saturday of the month)
- Stand inside the garage with the door closed. Look at the rollers in the tracks. Each roller should be seated fully in the track, not tilted or riding up on the lip. On Yonkers hillside homes, especially around Park Hill and Nepera Park, we see doors settle out of square, which tilts the bottom rollers first. That tilt is the earliest warning sign.
- Open the door and listen. A healthy door makes a low, even hum. Grinding, squealing, or a rhythmic thump means a roller is flat-spotted or a hinge is dry. Note where the sound is loudest. That is your next lubrication target.
- Watch the door as it rises. It should move in one smooth plane with no side-to-side shimmy. Any wobble means loose track bolts or a worn roller. Tighten what is visibly loose. If the wobble continues, you have a bigger issue, and you will know it within three cycles.
- Check the safety reverse sensors. Wave a broom handle between the two sensor eyes near the floor while the door is closing. The door should reverse within two seconds. If it does not, wipe the sensor lenses with a dry cloth and test again. This is a four-minute task that costs nothing and prevents a crushed bike or a crushed toddler.
Every 3 Months: The 35-Minute Lubrication and Hardware Pass
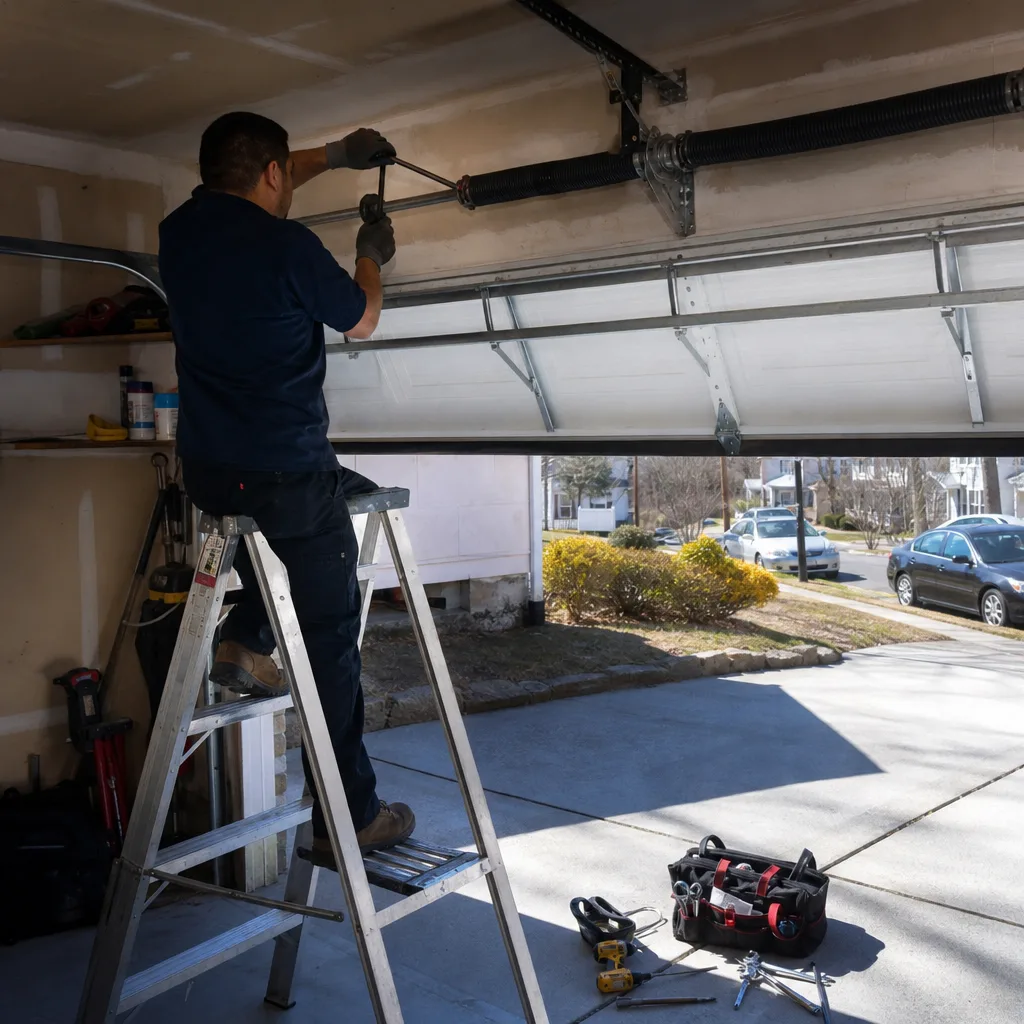
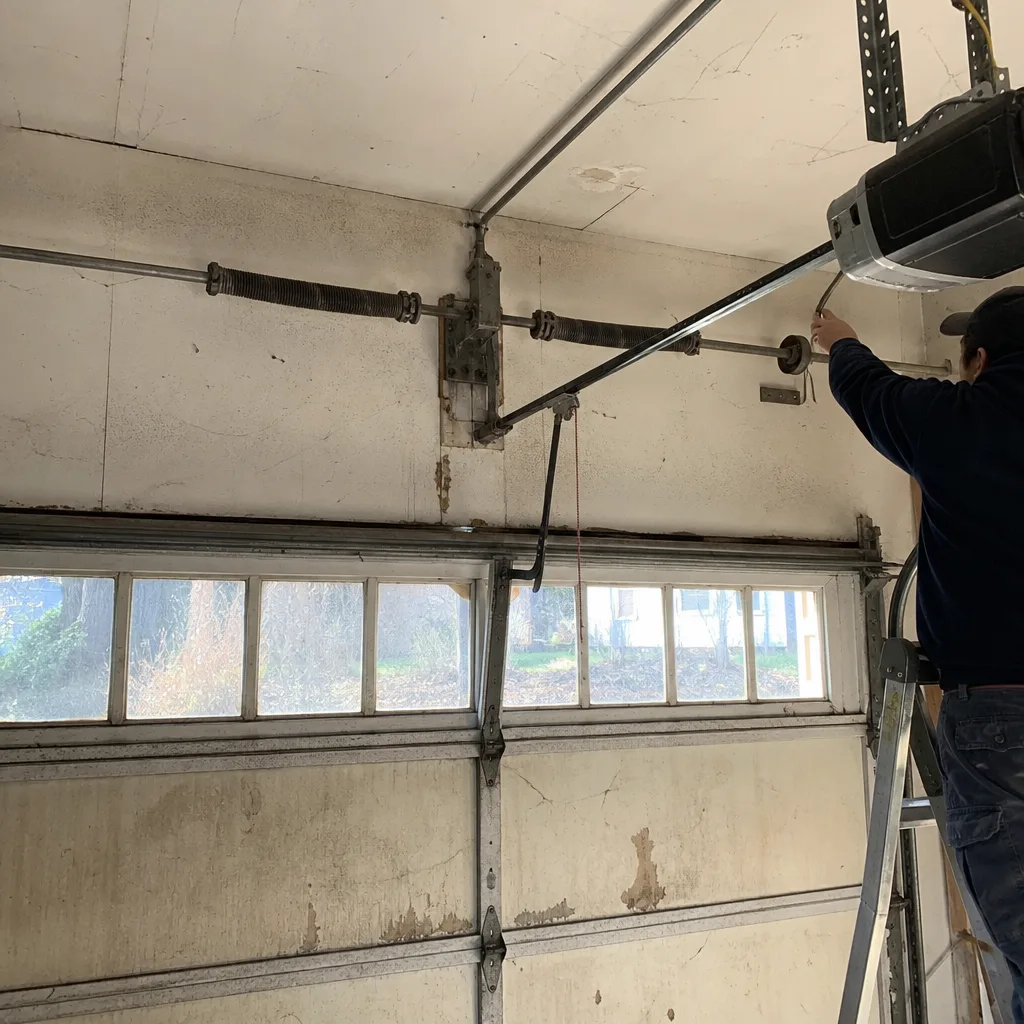
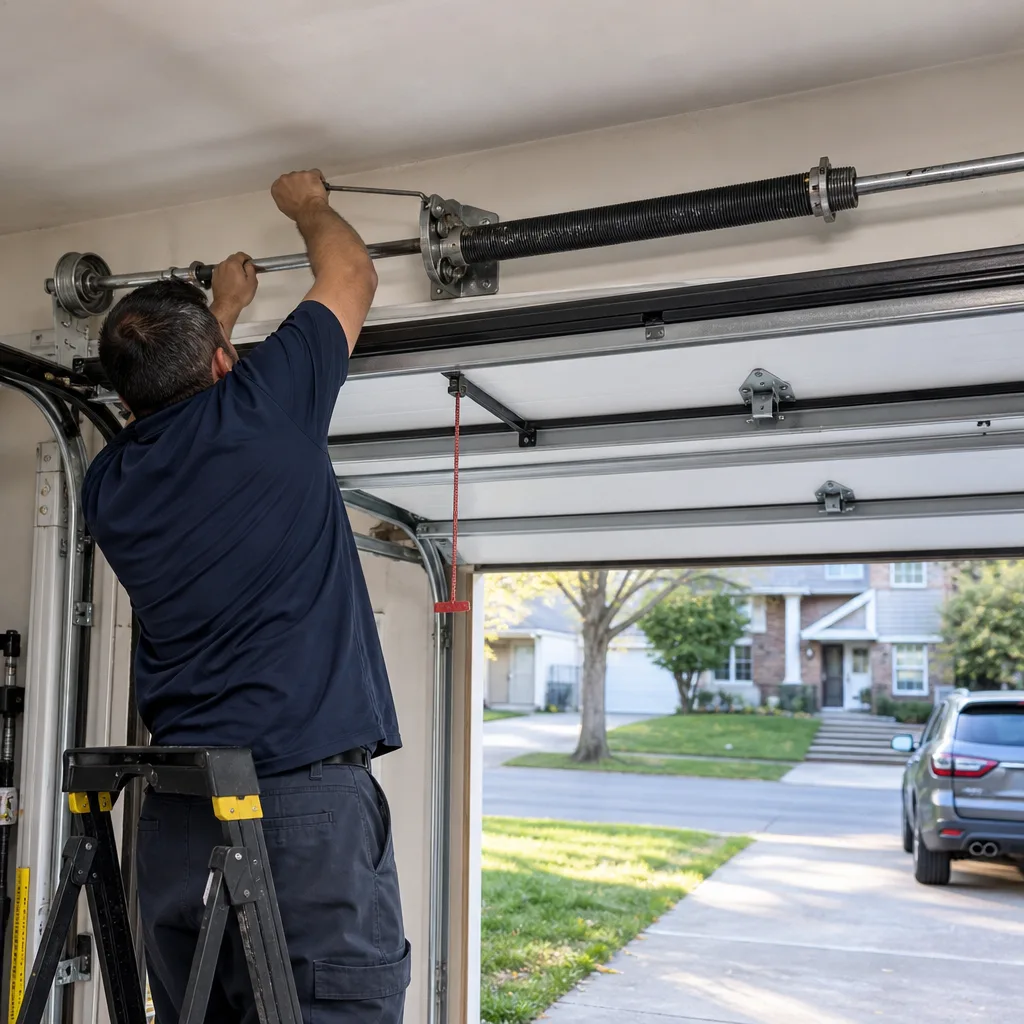
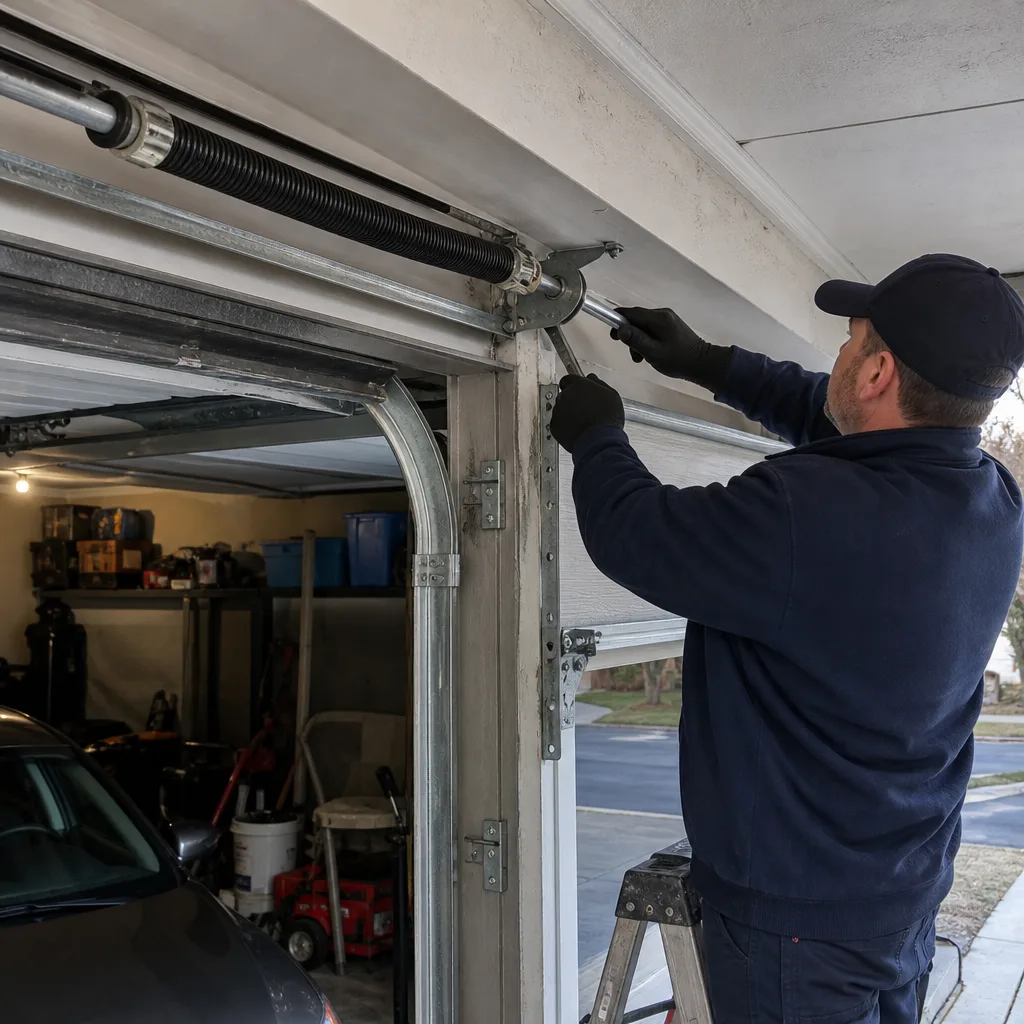
- Lubricate the torsion spring. This is the horizontal coil above your closed door that does most of the actual lifting. Spray the entire spring with white lithium grease or a dedicated garage door lubricant, moving in a smooth left-to-right pass. Do not touch the spring with your hands. The coil gap surfaces are where the grease needs to sit, not just the outside of the coil.
- Lubricate each roller. Spray where the roller stem meets the roller body, not where the roller touches the track. The track itself should stay dry. Grease on the track attracts the dust and salt residue that turns into grinding paste. On nylon rollers, use a silicone spray. On steel rollers, white lithium works.
- Lubricate each hinge. One small spray on the pivot pin of every hinge, top to bottom. This is the part most Yonkers homeowners skip entirely, and it is the part that makes the door sound like a haunted house by March.
- Check all hinge and track bolts with a 7/16″ socket. Vibration loosens them faster than you think. Snug them down, but do not crank them. Over-torquing a track bolt pulls the track out of alignment, and now you have created the problem you were trying to prevent.
Every 6 Months: The 50-Minute Deep Inspection (April and October)
- Inspect the bottom brackets and cables for salt corrosion. The full corrosion checklist is in the section below. April is the check that matters most in Yonkers, right after the last road salt application of the season has had a month to work on your hardware.
- Check the spring balance. Do the tension test described in the section below. This takes ten minutes and tells you more about your door’s health than any other single check.
- Clean the tracks. Wipe the interior track surface with a dry rag. If there is caked-on grime, use a lightly dampened rag, then dry immediately. Never use grease, oil, or any wet lubricant in the track channel.
- Inspect the weatherstripping along the bottom edge. In Yonkers, this strip is what stands between your garage floor and the slush that runs down your driveway in February. If it is cracked, flattened, or pulling away from the aluminum retainer, replace it before the next freeze-thaw cycle. A fourteen-foot replacement strip costs under $20 and takes fifteen minutes to install.
If the door is a Genie, Clopay, or Amarr model, the same calendar still applies. Brand does not change the physics. What changes is the specific roller type and spring configuration, which is why the lubrication section below matters more than the brand sticker.
The Three Components Yonkers Homeowners Over-Lubricate (And What to Use Instead)
More lubrication is not better lubrication. In our repair calls around Yonkers, homeowners over-apply three things specifically, and the over-application is doing actual damage, not just wasting product.
1. The Track Channels
The single most common mistake we see in Yonkers garages is grease in the track channels. People spray WD-40 or white lithium into the track because the door squeaks when it moves. The squeak is almost never the track. It is the roller bearing or the hinge pin. Grease in the track collects dust, road salt mist, and grime, then cures into a sticky paste that the rollers have to plow through on every cycle. That increases drag, which increases wear on the operator motor, which shortens the life of a door opener you probably paid $400 to $600 to install.
Correct approach: Keep tracks dry. Clean them with a rag, do not lubricate them. If the door squeaks, find the squeak at the roller or hinge. That is where the lubricant goes.
2. The Rollers Themselves
Homeowners soak rollers with spray lubricant until the product drips down the track and pools on the floor. On metal rollers, the lubricant you want goes inside the bearing, which you cannot reach with a spray from outside. On nylon rollers, which come standard on most Clopay and Amarr doors sold in Westchester, the nylon body does not need lubrication at all. The steel stem and the bearing inside are the only parts that do.
Correct approach: One short spray at the point where the roller stem enters the roller body. If you have nylon rollers, use silicone spray, which will not degrade the nylon. If you have steel rollers, use white lithium grease. One pass, not three, and let it sit. Wipe any drip.
3. The Spring and Bearing Plates
The torsion spring needs to be lubricated regularly, but not drenched. A spring that drips lubricant onto the floor or down the wall is carrying product into places it should not be, including the cable drums, where a greasy cable can slip. We also see homeowners spraying the end bearing plates until the lubricant runs, which is unnecessary and attracts the same dust and salt grime that wrecks the track.
Correct approach: One steady left-to-right pass over the spring, enough to coat the coil gaps with a visible but thin layer. The same single pass on each end bearing plate. Twice a year is enough for a door that cycles four to six times a day, which is the norm in Yonkers with commuters coming and going. If the door cycles more than eight times daily, add a third spring lubrication each year.
Road Salt Corrosion: The Hardware Inspection Checklist
Yonkers streets get heavy salt application from November through March. That salt does not stay on the street. It migrates into your garage on your tires, on the undercarriage, and as fine spray kicked up by passing cars on Ashburton Avenue, Mile Square Road, and the Saw Mill River corridor. The salt settles on and around the bottom of your garage door, and then the freeze-thaw cycle works it into the metal. Here is what to check, and in what order.
- Bottom brackets. These are the L-shaped steel plates bolted to the bottom corners of your door, where the lift cables attach. If they show white chalky residue, flaking rust, or visible pitting, the steel is degrading. Salt corrosion on bottom brackets is the leading cause of cable failure in Yonkers, because the cable anchor point weakens and eventually tears loose. If you see significant flaking, have the brackets replaced before the cable goes.
- Lift cables. Look for rust-colored streaking, frayed strands, or any kink along the vertical runs. A cable with one broken strand is a cable on its final cycle. Do not touch cables under tension. Note the condition and make the call if you see any damage.
- Roller stems and brackets. Surface rust on roller stems is cosmetic, but pitting is not. A pitted stem binds in the roller bracket and causes the door to jerk on the way up, which adds shock load to the spring and operator. Wiggle each roller by hand with the door closed. Any side-to-side play beyond a barely perceptible click means the roller needs replacement.
- Door panels along the bottom edge. On steel doors, salt spray accelerates rust through the paint at the bottom panel. A door that shows bubbling paint or rust streaks along its bottom edge has started to corrode from the inside. Touch-up paint slows it. Replacing the bottom panel stops it. On Wayne Dalton and Amarr doors with factory finishes, prompt touch-up keeps the panel warranty intact.
- Hinge leafs and pins. Rust on hinge pins does not usually cause failure, but it does cause squeaking that misleads homeowners into greasing the track, which causes the longer-term damage described above. Check the pins. If they are corroded, replace the hinges, which are cheap and easy, rather than masking the noise with lubricant.
The salt worst-case scenario plays out in attached garages in hilly neighborhoods like Northeast Yonkers and along the Bronx River, where road spray comes up the driveway, and the garage stays colder and damper than a detached garage with cross-ventilation. If your garage is attached and below grade, double the frequency of your corrosion checks from every six months to every four during the salt season.
The Safe Tension Test You Can Do Without Touching the Spring
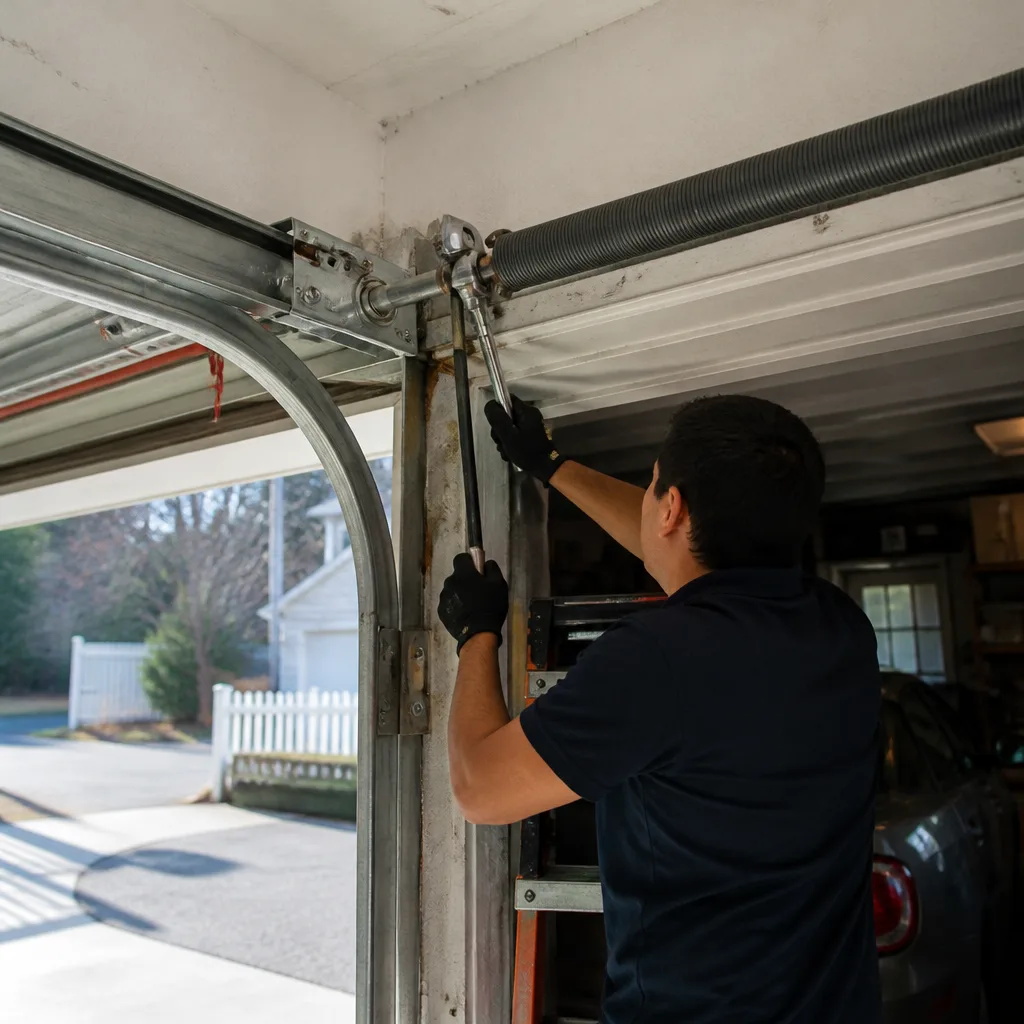
A torsion spring under tension is the most dangerous component in your garage. The stored energy in a wound spring can fracture a forearm or worse if it releases suddenly. Homeowners should never attempt to adjust, unwind, or “tighten” a torsion spring. Full stop. But you can and should test whether your spring is doing its job, because a weak spring is the warning sign that arrives weeks or months before a cable snaps.
Here is the test, and it requires no tools and no contact with the spring.
- Close the door fully. Pull the manual release cord (the red cord hanging from the operator rail) to disconnect the door from the opener. The door should now move freely by hand.
- Lift the door manually to the halfway point, roughly waist height. A properly balanced door with a healthy spring will hold position at the halfway point without you holding it. It may drift an inch or two, but it should not fall or rise on its own.
- Let go completely. Count to five. If the door stays near the halfway point, your spring is doing its job. If the door sinks toward the floor, the spring is under-tensioned or aging. If it shoots upward, the spring is over-tensioned, which is also a problem because it forces the opener motor to work against the spring.
- Test both extremes as well. A door with a weak spring will feel noticeably heavy to lift from the closed position and will slam if released from three-quarters open. A door with a healthy spring moves with roughly the same effort through the entire travel.
- Reconnect the opener by pulling the release cord toward the door and running the opener until the carriage re-engages. If you are unsure whether it re-engaged, run the opener once. The carriage will click into place on its own.
If your door fails this test, do not adjust anything. Write down what you observed, call a professional, and describe exactly what the door did. A door that fails the halfway hold test is a door that will eventually snap a cable or burn out an opener motor. The fix is a spring replacement, which is a routine repair. The damage you prevent by catching it early is what makes this five-minute test worth doing.
Garage Environment: Moisture, Ventilation, and What It Does to Your Door
Yonkers attached garages get damp. The Hudson Valley swings from humid summers to wet, cold winters, and the garage door is the only exterior wall component that has to move while it separates those two climates. When you park a car with warm tires and a snow-caked undercarriage in an attached garage, the moisture from melting snow raises the humidity level inside the garage dramatically. That moisture then condenses on the coldest surface in the space, which in February is almost always the metal of the door panels and hardware.
The first thing to do is check the door’s weatherseal integrity. The bottom seal, the vertical seals along the jambs, and the top seal all work together to keep water out and regulate what comes in. A torn bottom seal does not just let slush blow in. It changes the air pressure inside the garage, which changes how the door sits in the tracks. In Yonkers, we see doors that operate perfectly in the spring and bind in the winter, and the cause is often a failed seal allowing a pressure differential to develop.
The second step involves no equipment: after a wet drive, open the door fully for five minutes to let the garage air out. Five minutes is long enough to drop the humidity spike without sending your heating bill through the roof. If your garage is attached to the main living space and you heat it, this five-minute vent is even more important, because the condensation that forms on your door hardware in February is the same condensation feeding the rust you will find in April.
The third step, if you have a persistent musty smell or visible water beading on the door’s interior face, is a dehumidifier. A small unit set to 50 percent relative humidity is enough. It runs perhaps three months out of the year and costs roughly $30 to $40 in electricity over that period, which is far less than the cost of replacing salt-rotten hardware or a rust-seized operator chain.
Track Alignment and Level Checks for Steep Yonkers Driveways
Hillside garages in Yonkers, particularly in the Getty Square area, along Warburton Avenue, and up the slopes in the northwest section of the city, put a specific stress on garage door tracks that flat suburban driveways never see. The driveway approach angle, combined with the near-daily freeze-thaw of a Yonkers winter, works track bolts loose and shifts the tracks out of parallel. When the tracks drift, the door starts to bind, and the opener motor compensates by pulling harder. The result is a door that accelerates through the first third of its travel, then stutters, then shudders. That shudder is the opener’s way of saying the track is out.
Two checks matter most.
Check the vertical tracks for plumb. Use a four-foot level against the vertical track on each side, in both directions (left-right and front-back). A vertical track that leans outward more than a quarter inch from top to bottom is drifting. Correcting it means loosening the track brackets, nudging the track back to plumb, and tightening. This is within the range of a confident homeowner. If the track is bent, not just out of position, leave it alone and call for service.
Check the horizontal track gap. With the door half open, measure the distance between the two horizontal tracks at the front and again at the rear. The measurements should match within a half inch. If the rear measurement is wider, the tracks are spreading, which causes the top rollers to ride out of the track and, in extreme cases, drop the door. If the rear measurement is narrower, the tracks are pinching, which wears rollers flat on one side.
The driveway angle also accelerates wear on the bottom rollers, because the door spends more time under tension at the point where the vertical track curves into the horizontal. If your driveway climbs more than ten feet over a thirty-foot run, check the bottom rollers monthly during the winter, not quarterly. They are the first component to fail on steep-grade Yonkers homes.
The Contractor Handoff Checklist: What to Ask for in Writing
Every garage door service visit should end with a piece of paper, a text, or an email that tells you what was done, what was found, and what is likely to need attention next. Most Yonkers homeowners do not ask for this, and the absence of a written record means every new technician starts from zero. If you rely on Garage Door Repair in Yonkers for your spring replacement this year and then the cable fails next year, a different technician can diagnose the cause much faster if there is a baseline in the file.
Here is what to ask for in writing after any professional service visit, from a spring replacement to a routine tune-up.
- The exact parts replaced, including brand and part number. “New spring” is not enough. You want to know if it was a .225 wire by 2-inch inside diameter by 28-inch length spring, or the equivalent. That data tells the next tech exactly what was installed, which matters when diagnosing balance issues later.
- The spring cycle rating. Standard torsion springs are rated for a specific number of open-close cycles, usually 10,000, 15,000, or 25,000. Write this number down. It is the single most useful predictive maintenance datapoint you will ever have for your door.
- Torque readings or balance test results. If the tech performed a balance test, ask for the results in writing. “Door held at halfway” or “door drifted six inches in ten seconds” becomes the baseline for the next tune-up.
- Lubrication notes. What was lubricated, with what product, and on what date. This prevents the next tech from either skipping lubrication or over-lubricating because there is no record.
- Observed wear items. Rollers at 50 percent life, a hinge pin showing rust, a cable that is “fine but worth watching.” These are the items that become repairs next year. Write them down now.
- The written price and the warranty terms. You should already have this in writing before the work starts, and the final invoice should match. If the invoice describes the same replacement differently than the quote did, ask why, on the spot.
If you are working with Marlow Garage Door Repair Yonkers home, every service visit already ends with a written record as part of the Relay Visibility Guarantee. You get the before-and-after photos, the written price, and the digital invoice you can pay from a link. The baseline for the next visit is already in place. But even if you work with another company, asking for these six items in writing puts you ahead of 95 percent of homeowners, and the technician who keeps records is a technician worth calling back.
Common Mistakes to Avoid
- Using WD-40 on anything except a stuck lock. WD-40 is a solvent and water displacer, not a lubricant. It strips the lubrication that is already on the roller bearings and hinge pins. In Yonkers, where we re-lubricate after salt season anyway, using WD-40 means your March lubrication disappears by April. Use white lithium grease or a silicone-based garage door lubricant instead.
- Lubricating the track channels. This is the mistake we see in roughly half of all maintenance-related service calls in Yonkers, and it actively shortens the life of the rollers and the opener motor. Tracks stay dry. Always.
- Ignoring a door that “sounds a little off.” By the time a garage door makes noise you can hear from inside the house, the component making that noise is usually at the end of its life. A roller that grinds is a roller about to seize. A spring that creaks is a spring about to snap. The noise is the warning, not the problem.
- Skipping the safety reverse test because “it worked last month.” Sensor misalignment happens in one bump from a car bumper or one bike leaning against the wall. The test takes ten seconds. The consequence of a failed sensor is a closing door that does not stop for a child, a pet, or a car bumper. Do the test monthly.
- Tightening track bolts without checking alignment afterward. A track bolt that keeps coming loose is a symptom, not the problem. The underlying issue is usually vibration from a track that is already drifting out of position. Crank the bolt down and you have locked in the misalignment. Correct the alignment, then tighten, then verify the door still moves smoothly through a full cycle.
- Waiting until spring to fix winter damage. March is when Yonkers homeowners finally look at their garage doors, and by March the salt has had three months to work. The October inspection exists for a reason. Catch the corrosion before the freeze-thaw cycle accelerates it.
- Replacing an entire door when only the spring failed. A snapped torsion spring is a dramatic failure, but it is also a $150 to $290 repair, not a $2,500 door replacement. If your door is less than fifteen years old and the panels are straight, a spring replacement usually buys you another five to seven years. Garage Door Spring Repair in Yonkers is the focused fix, and it is done same-day in most cases, not a multi-week replacement project.
When to Call a Professional
Some tasks belong on your weekend list. Some belong to a trained professional with the right tools and, more importantly, the right sense of which components are under dangerous tension. If your door fails the halfway balance test, do not attempt to adjust the spring yourself. If a lift cable is frayed, do not remove or replace it, because the cable carries the entire spring tension when the door is mid-travel. If a roller has jumped the track, shut the door manually only if it moves freely, then call someone who can inspect the track for bending before cycling the opener. Garage Door Cable Repair in Yonkers is also a job for a professional, because the cable, the drum, and the spring all work as one system, and a mistake on any one of them transfers load to the other two. Marlow Garage Door Repair Yonkers offers free estimates in Yonkers. Call (845) 407-9237 and a live person will answer, 24 hours a day, seven days a week. You will get a written price before any work starts, and every repair is covered by the 365-Day Done Right Promise.
Frequently Asked Questions
Lubricate the torsion spring, hinges, and rollers every three months with white lithium grease or a silicone-based garage door lubricant. Homes in Yonkers that park daily in attached garages should add a third spring lubrication during heavy salt season, because salt mist dries out the coating faster. Never use WD-40, and never lubricate the track channels. Call (845) 407-9237 if you are unsure which product matches your door.
Yes. Pull the red release cord, lift the door to waist height, and let it go. If it holds position, the spring is healthy. If it drops or shoots upward, the spring needs professional adjustment. This test involves zero contact with the torsion spring and is safe for any homeowner. Call (845) 407-9237 if the door fails the test, and describe exactly what it did.
Hudson Valley winters bring a combination of cold temperatures, which thickens the existing lubricant, and road salt, which dries out roller bearings and hinge pins faster than in inland towns. The fix is a seasonal lubrication pass in October and again in January, focusing on the rollers and hinges rather than the spring, which is rarely the noise source. If the noise persists after lubrication, the rollers themselves are likely worn.
DIY maintenance, using the calendar in this guide, costs under $50 per year for lubricant, weatherstripping, and cleaning materials. A professional tune-up in Yonkers typically runs $89 to $149 depending on the door type and the number of components inspected. Marlow Garage Door Repair Yonkers provides a written price before any work starts, so the number on the invoice matches the number you agreed to. Call (845) 407-9237 for a free estimate.
A standard torsion spring rated for 10,000 cycles lasts roughly seven to nine years in a Yonkers household that opens the door four times a day. Salt exposure and extreme temperature swings can shorten that to five or six years, especially in attached garages on hillside lots where the door sits partially open more often. If your spring is older than seven years, test it monthly using the halfway balance test above.
No. Torsion springs are under hundreds of pounds of tension, and the stored energy can cause serious injury if released incorrectly. Even experienced contractors treat spring replacement as a high-risk task that requires specific winding bars and a careful sequence. Garage Door Spring Repair in Yonkers is a same-day service, and the repair is completed safely with the right equipment. The cost is a fraction of the medical bill you would risk doing it yourself.
The Bottom Line
A garage door in Yonkers has a specific set of enemies: road salt, freeze-thaw cycles, steep driveway angles, and attached-garage humidity. None of them are exotic, and all of them respond to the same countermeasures: monthly visual and sound checks, quarterly lubrication of the right parts with the right product, twice-yearly corrosion and balance inspections, and written records after every professional visit. The whole calendar takes ninety minutes a year, and the payoff is a door that lasts five to seven years longer than a neglected one. For more guides & resources on keeping your door running, visit our blog. When in doubt, call (845) 407-9237 for a free estimate. A live person answers, and the price is written before any work begins.
Written by Jaylen Ross, Owner at Marlow Garage Door Repair Yonkers, serving Yonkers since 2002.
See the difference
 Before
 After
After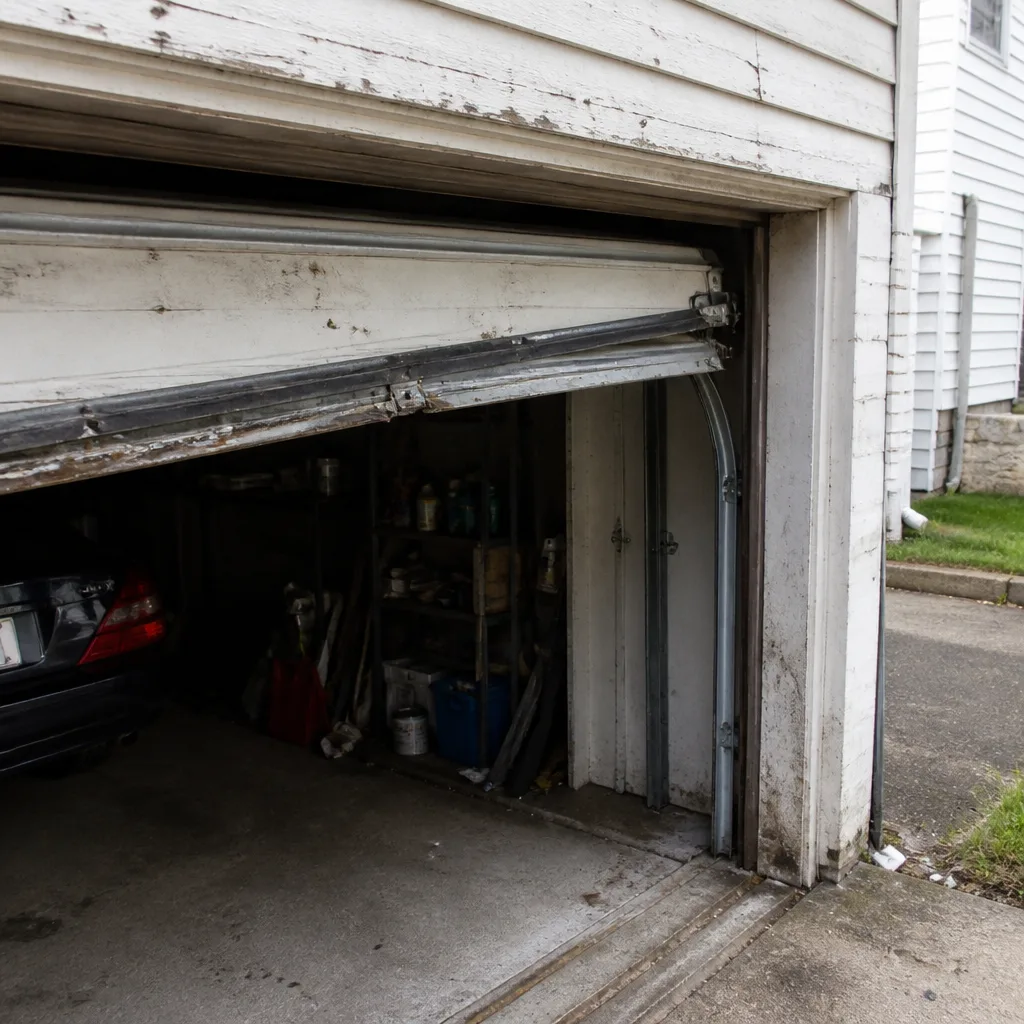 Before
 After
After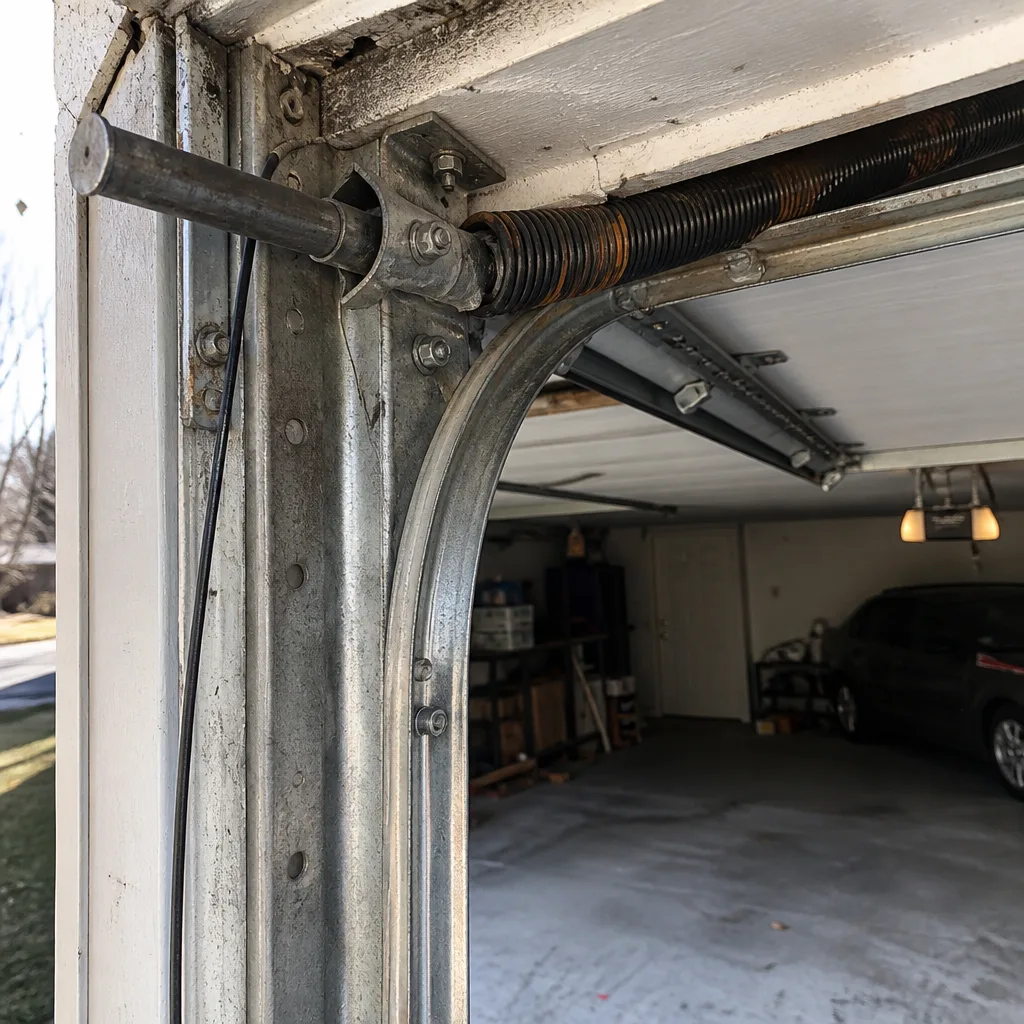 Before
 After
After